Step 1. Create Chat App
In this guide, I am going to work with Expo CLI, but all steps here also work with React Native CLI.
Let’s create a new app from scratch.
Open your favourite code editor and in the folder, where you would like to create a new app, run the following command to create a new React Native project called “chatLikeTelegram”:

For the template, I choose:
✔ Choose a template: › blank (TypeScript) same as blank but with TypeScript configuration
Next, we need to install react-native-gifted-chat library. For React Native CLI we just run:
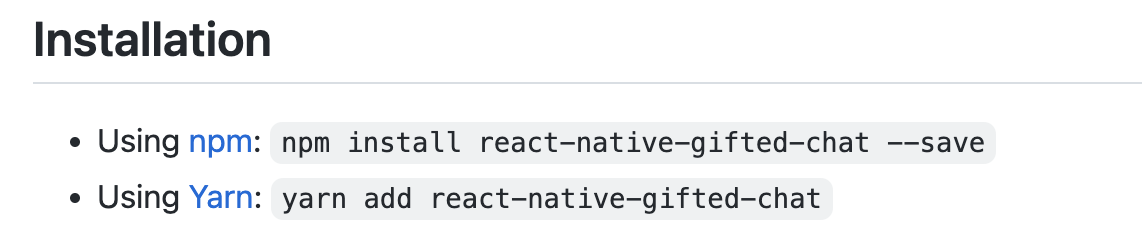
BUT, for Expo CLI we need to run:

Great! Now we are ready to create the chat component.
a) First, let’s add ‘src’ directory, where we create a new folder called ‘AppChat’
b) In that folder, we create a new file called ‘AppChat.tsx’ and add the code below:
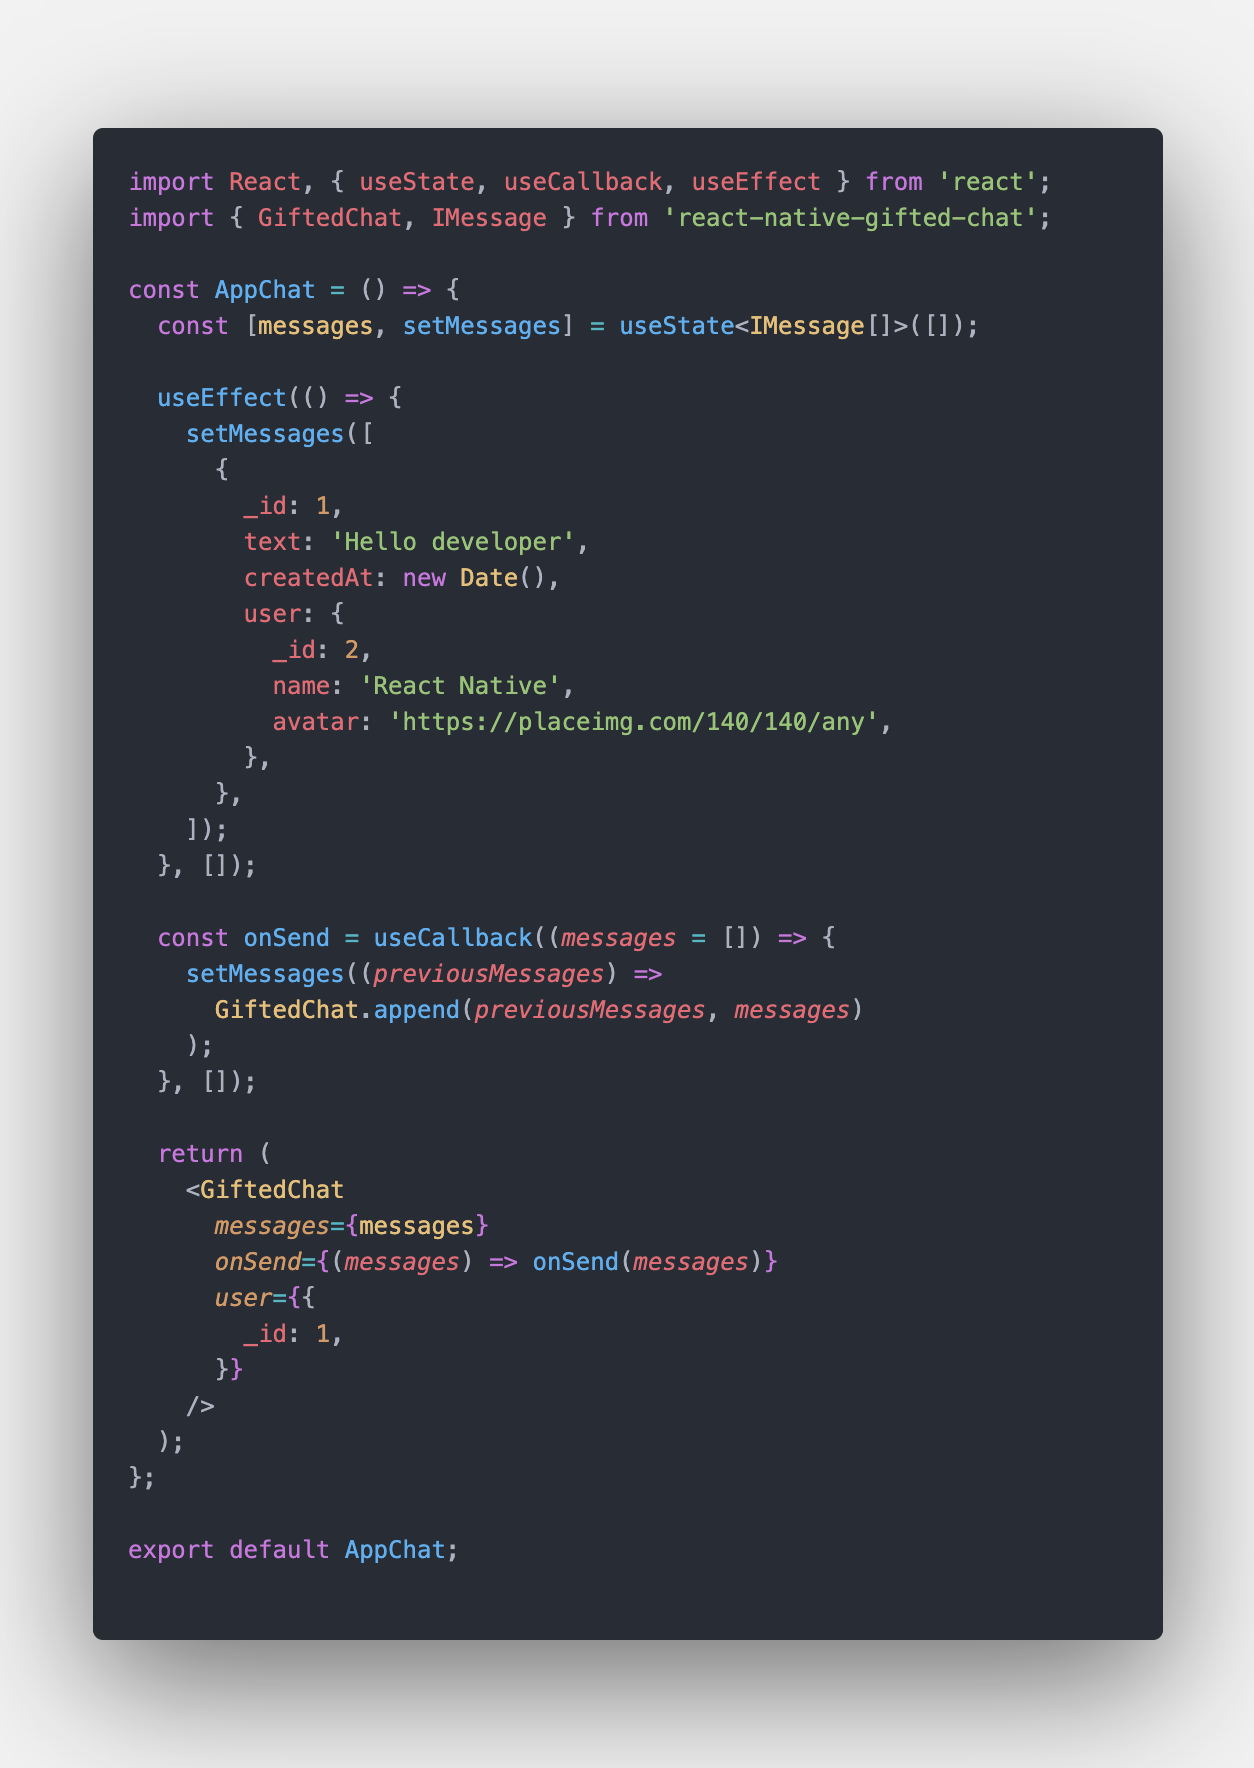
The code can be taken from here
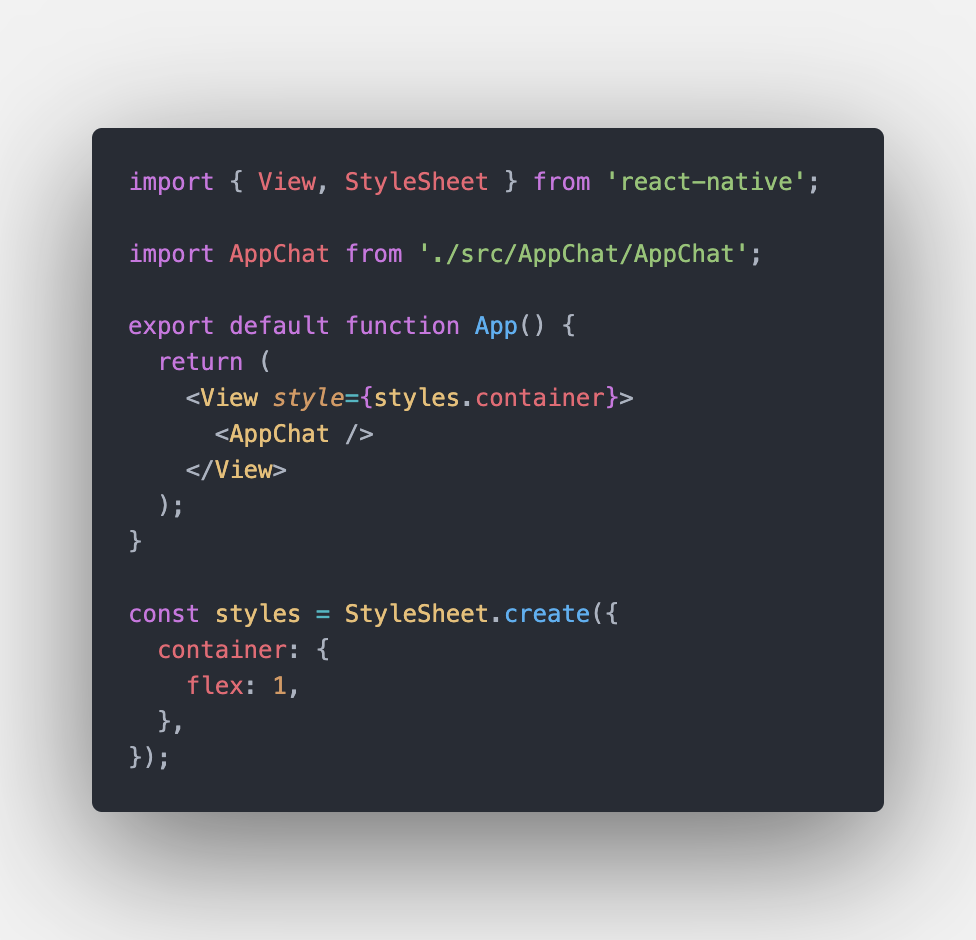
c) Update ‘App.tsx’ to render the component we have just created:
d) Finally, we need to run our app and check, that everything works.
Step 2. Configure chat component like in real project
Let’s set up some initial settings for the component as we usually do in real projects.
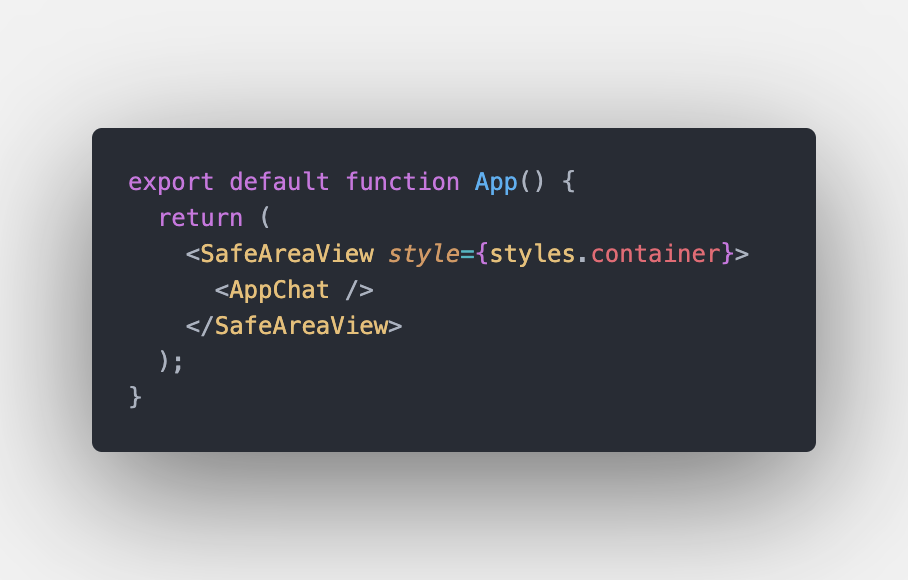
First, in the ‘App.tsx’ we wrap the component with SafeAreaView:
Second, we add KeyboardAvoidingView and set it for IOS and Android:
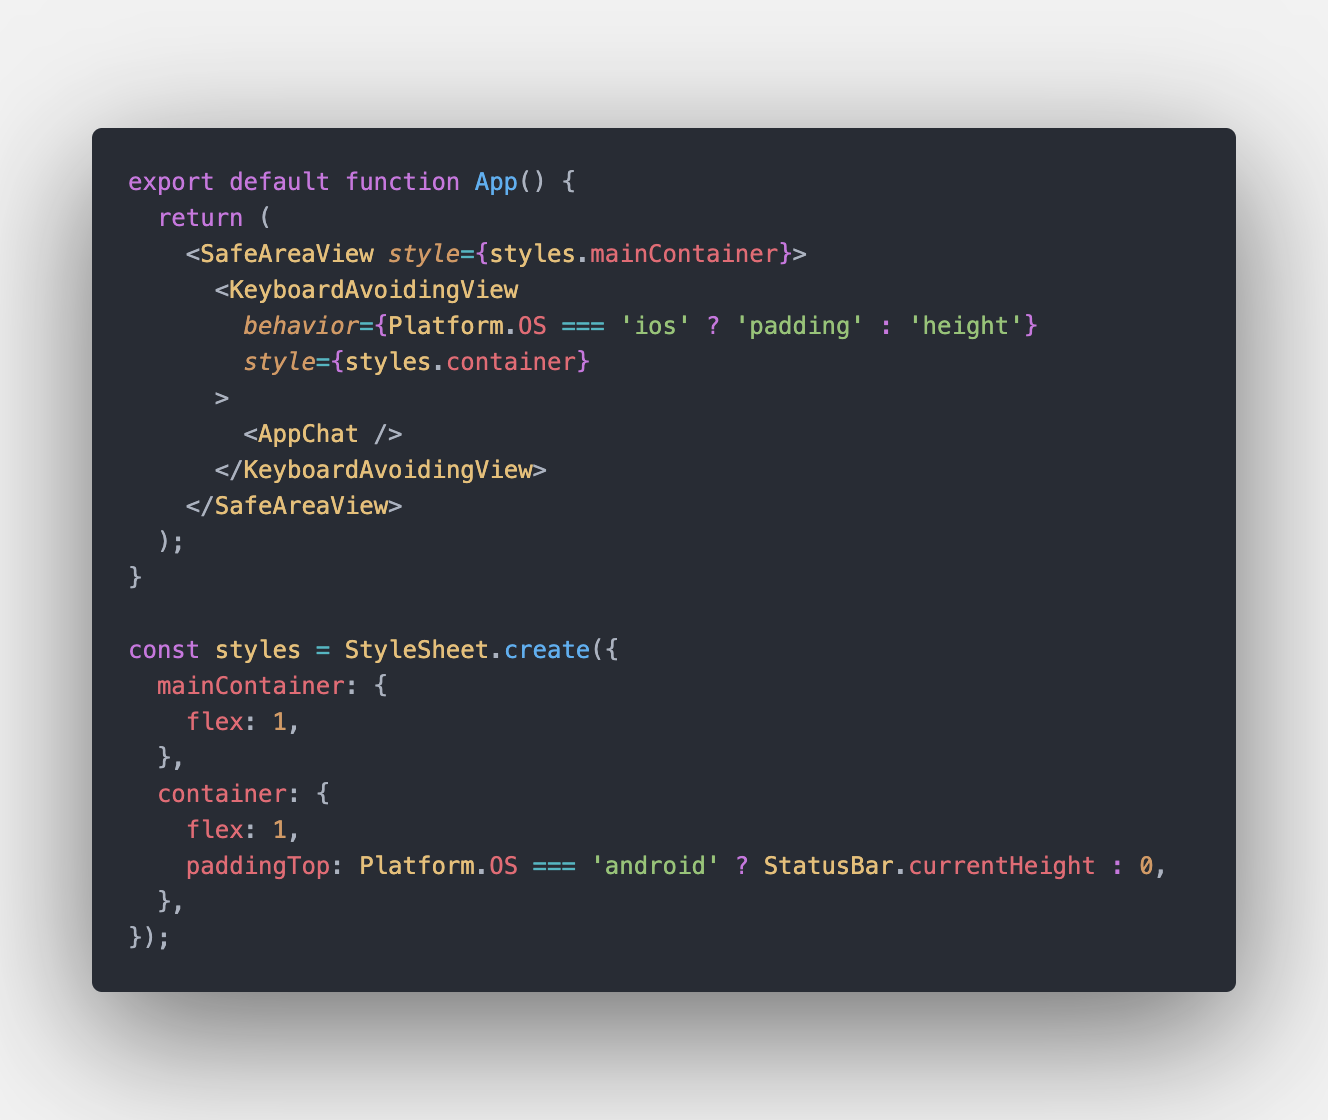
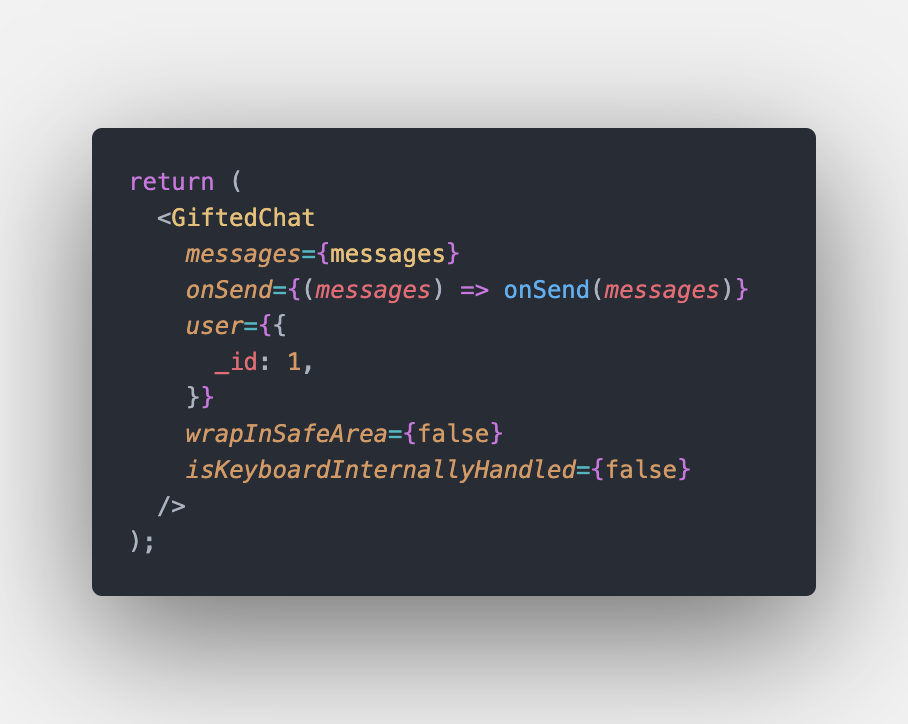
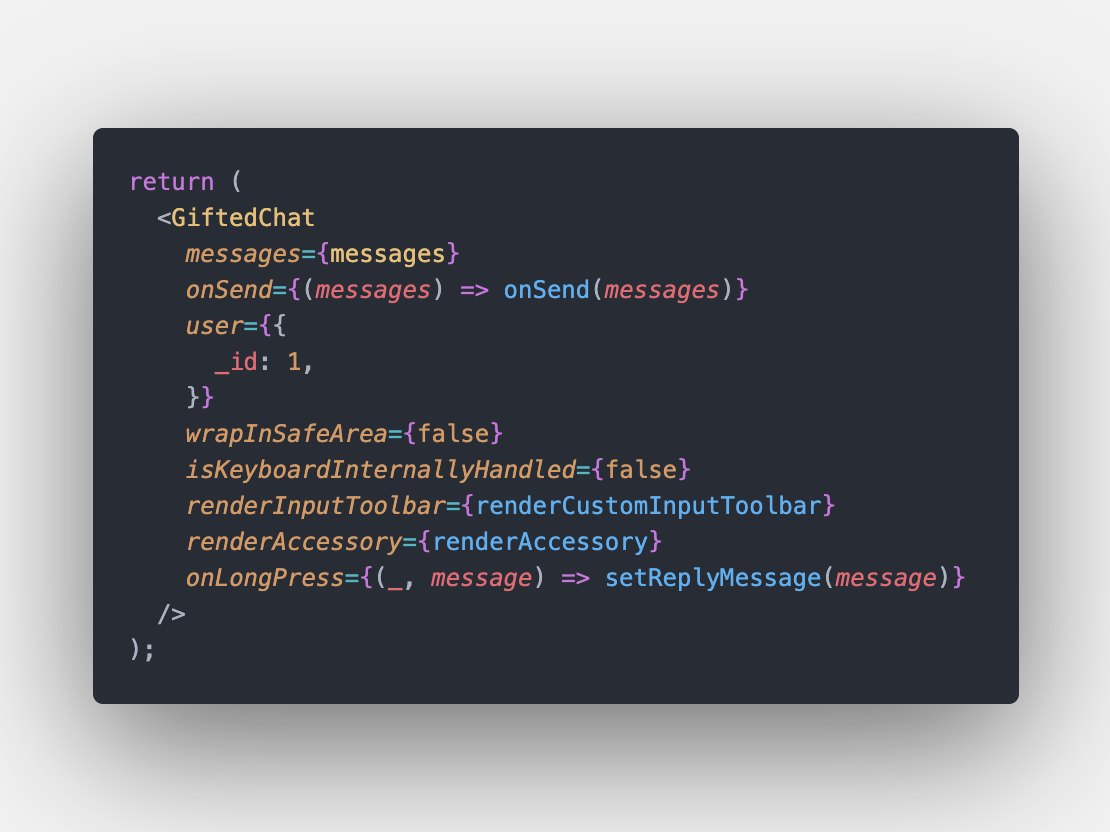
Finally, we need to disable wrapInSafeArea and isKeyboardInternallyHandled for the Chat component:
Trust me, this will save us a lot of time in future, and, on the other hand, in a real project, we usually have the wrapper component that does the same for us.
You can take the code from here
Step 3. Logic to set Reply message like in Telegram
I hope, everybody knows what happens when we swipe a message to which we want to reply on Telegram. If not, lucky you are here:
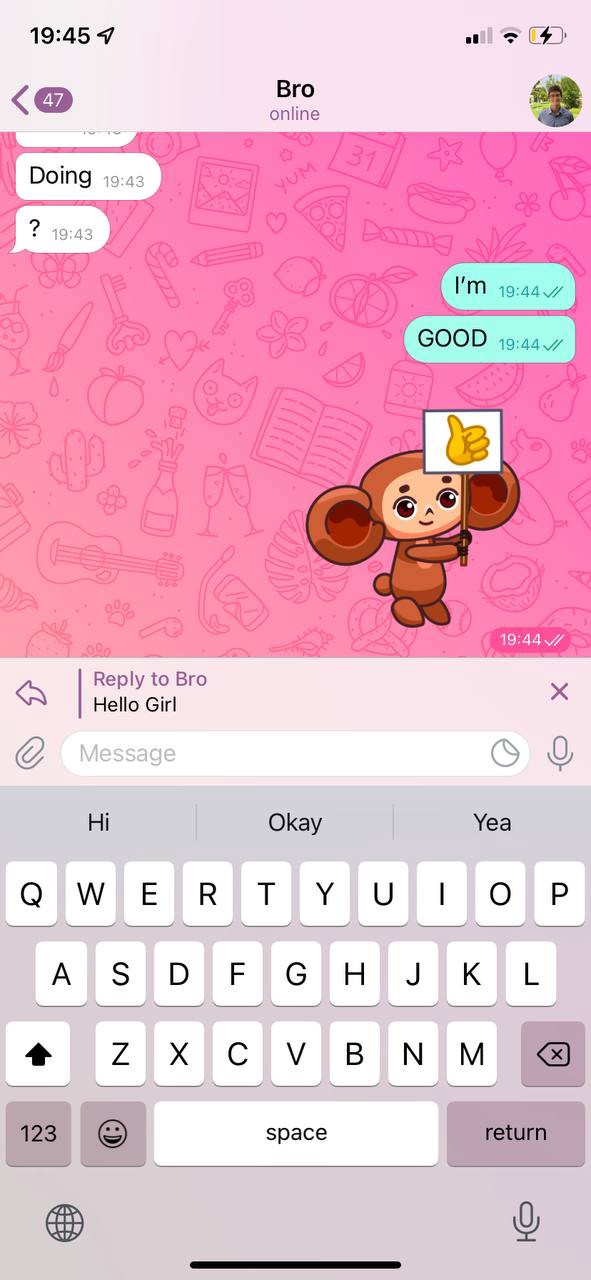
We are going to create this reply message bar above the input.
As you see, it contains 3 parts, an icon with a divider on the left, message text and a close icon at the end.
But how are we going to render it inside of the input?
The answer is here https://github.com/FaridSafi/react-native-gifted-chat#readme :
- renderAccessory (Function) — Custom second line of actions below the message composer
P. S. message composer — the input container with text input and send button
BUT wait, we have just decided that we want to see the bar above the input, not below.
Yes, you are right. That’s why we are adding some styles to our input toolbar.
First, let’s look at the code of the library to see what we need to change:
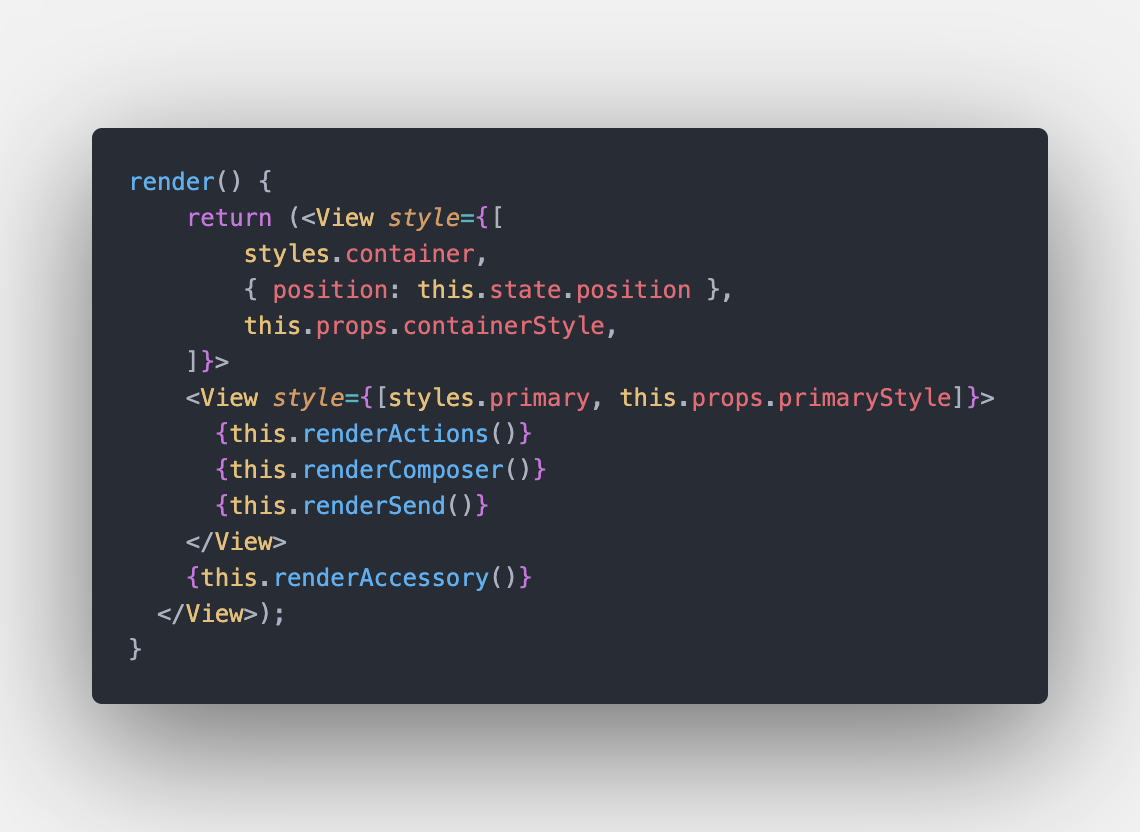
This is the render method of the InputToolbar, which I took from here.
As you see, we can use containerStyle prop to pass our styles.
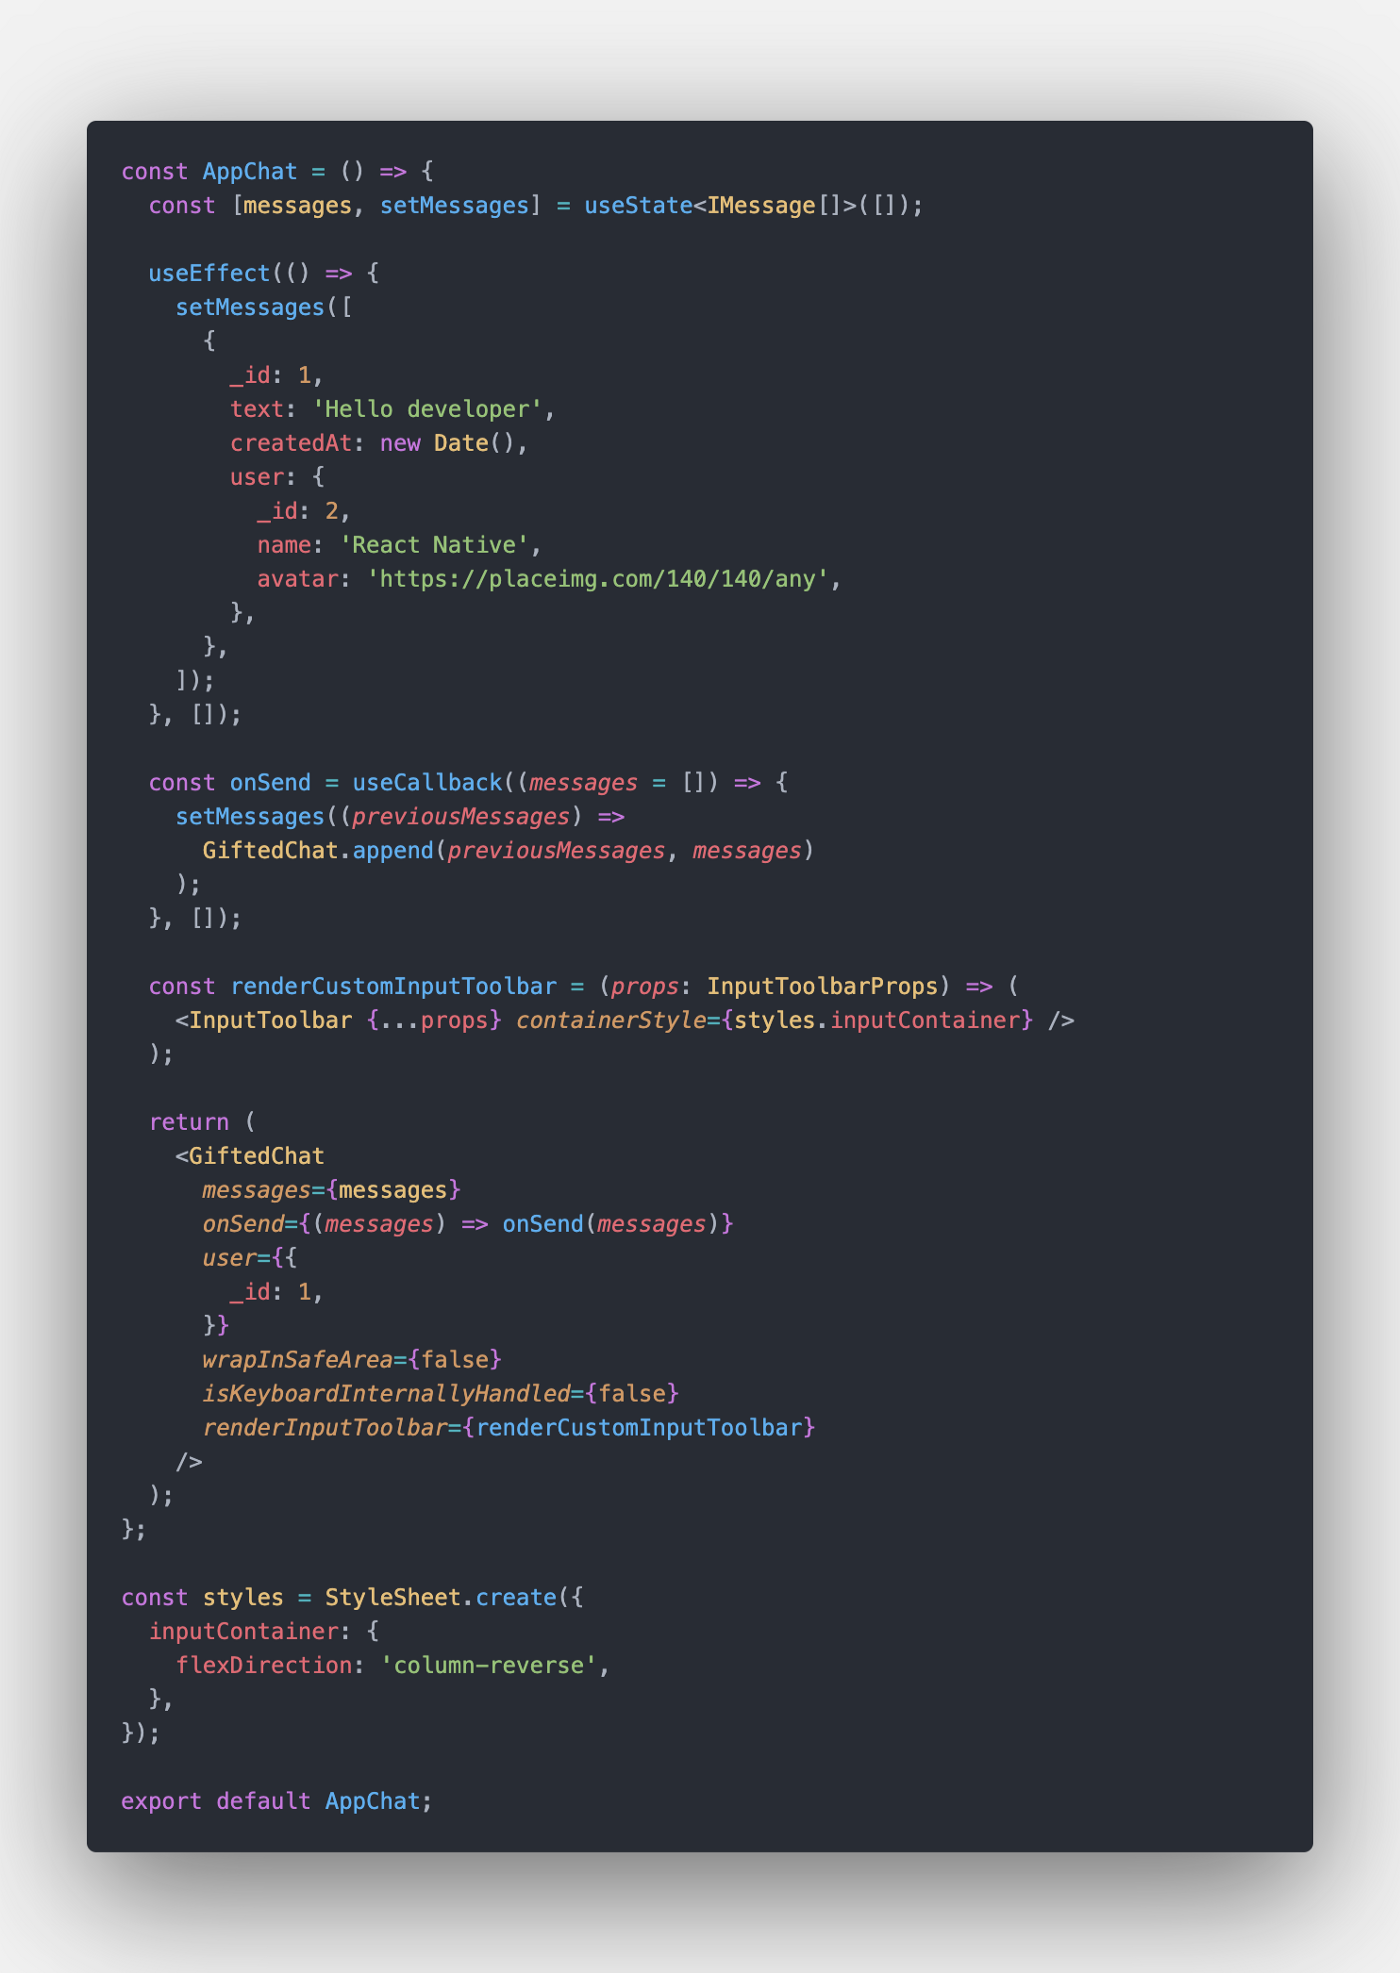
Here is what we do in the code:
a) Create a ‘renderCustomInputToolbar’ arrow function, that takes InputToolbarProps as an argument and returns InputToolbar component
b) Pass that function to the chat component by renderInputToolbar prop
c) Create ‘styles’ object with StyleSheet.create
d) Pass our styles with containerStyle prop to InputToolbar
Now, when we render our custom reply bar using renderAccessory prop, it will be displayed on top of the input.
Let’s test it!
A) Create a new component — ReplyMessageBar
I just created a folder ‘components’ in the ‘AppChat’ directory and add a new file ‘ReplyMessageBar.tsx’.
Icons are taken from this website: https://www.flaticon.com/
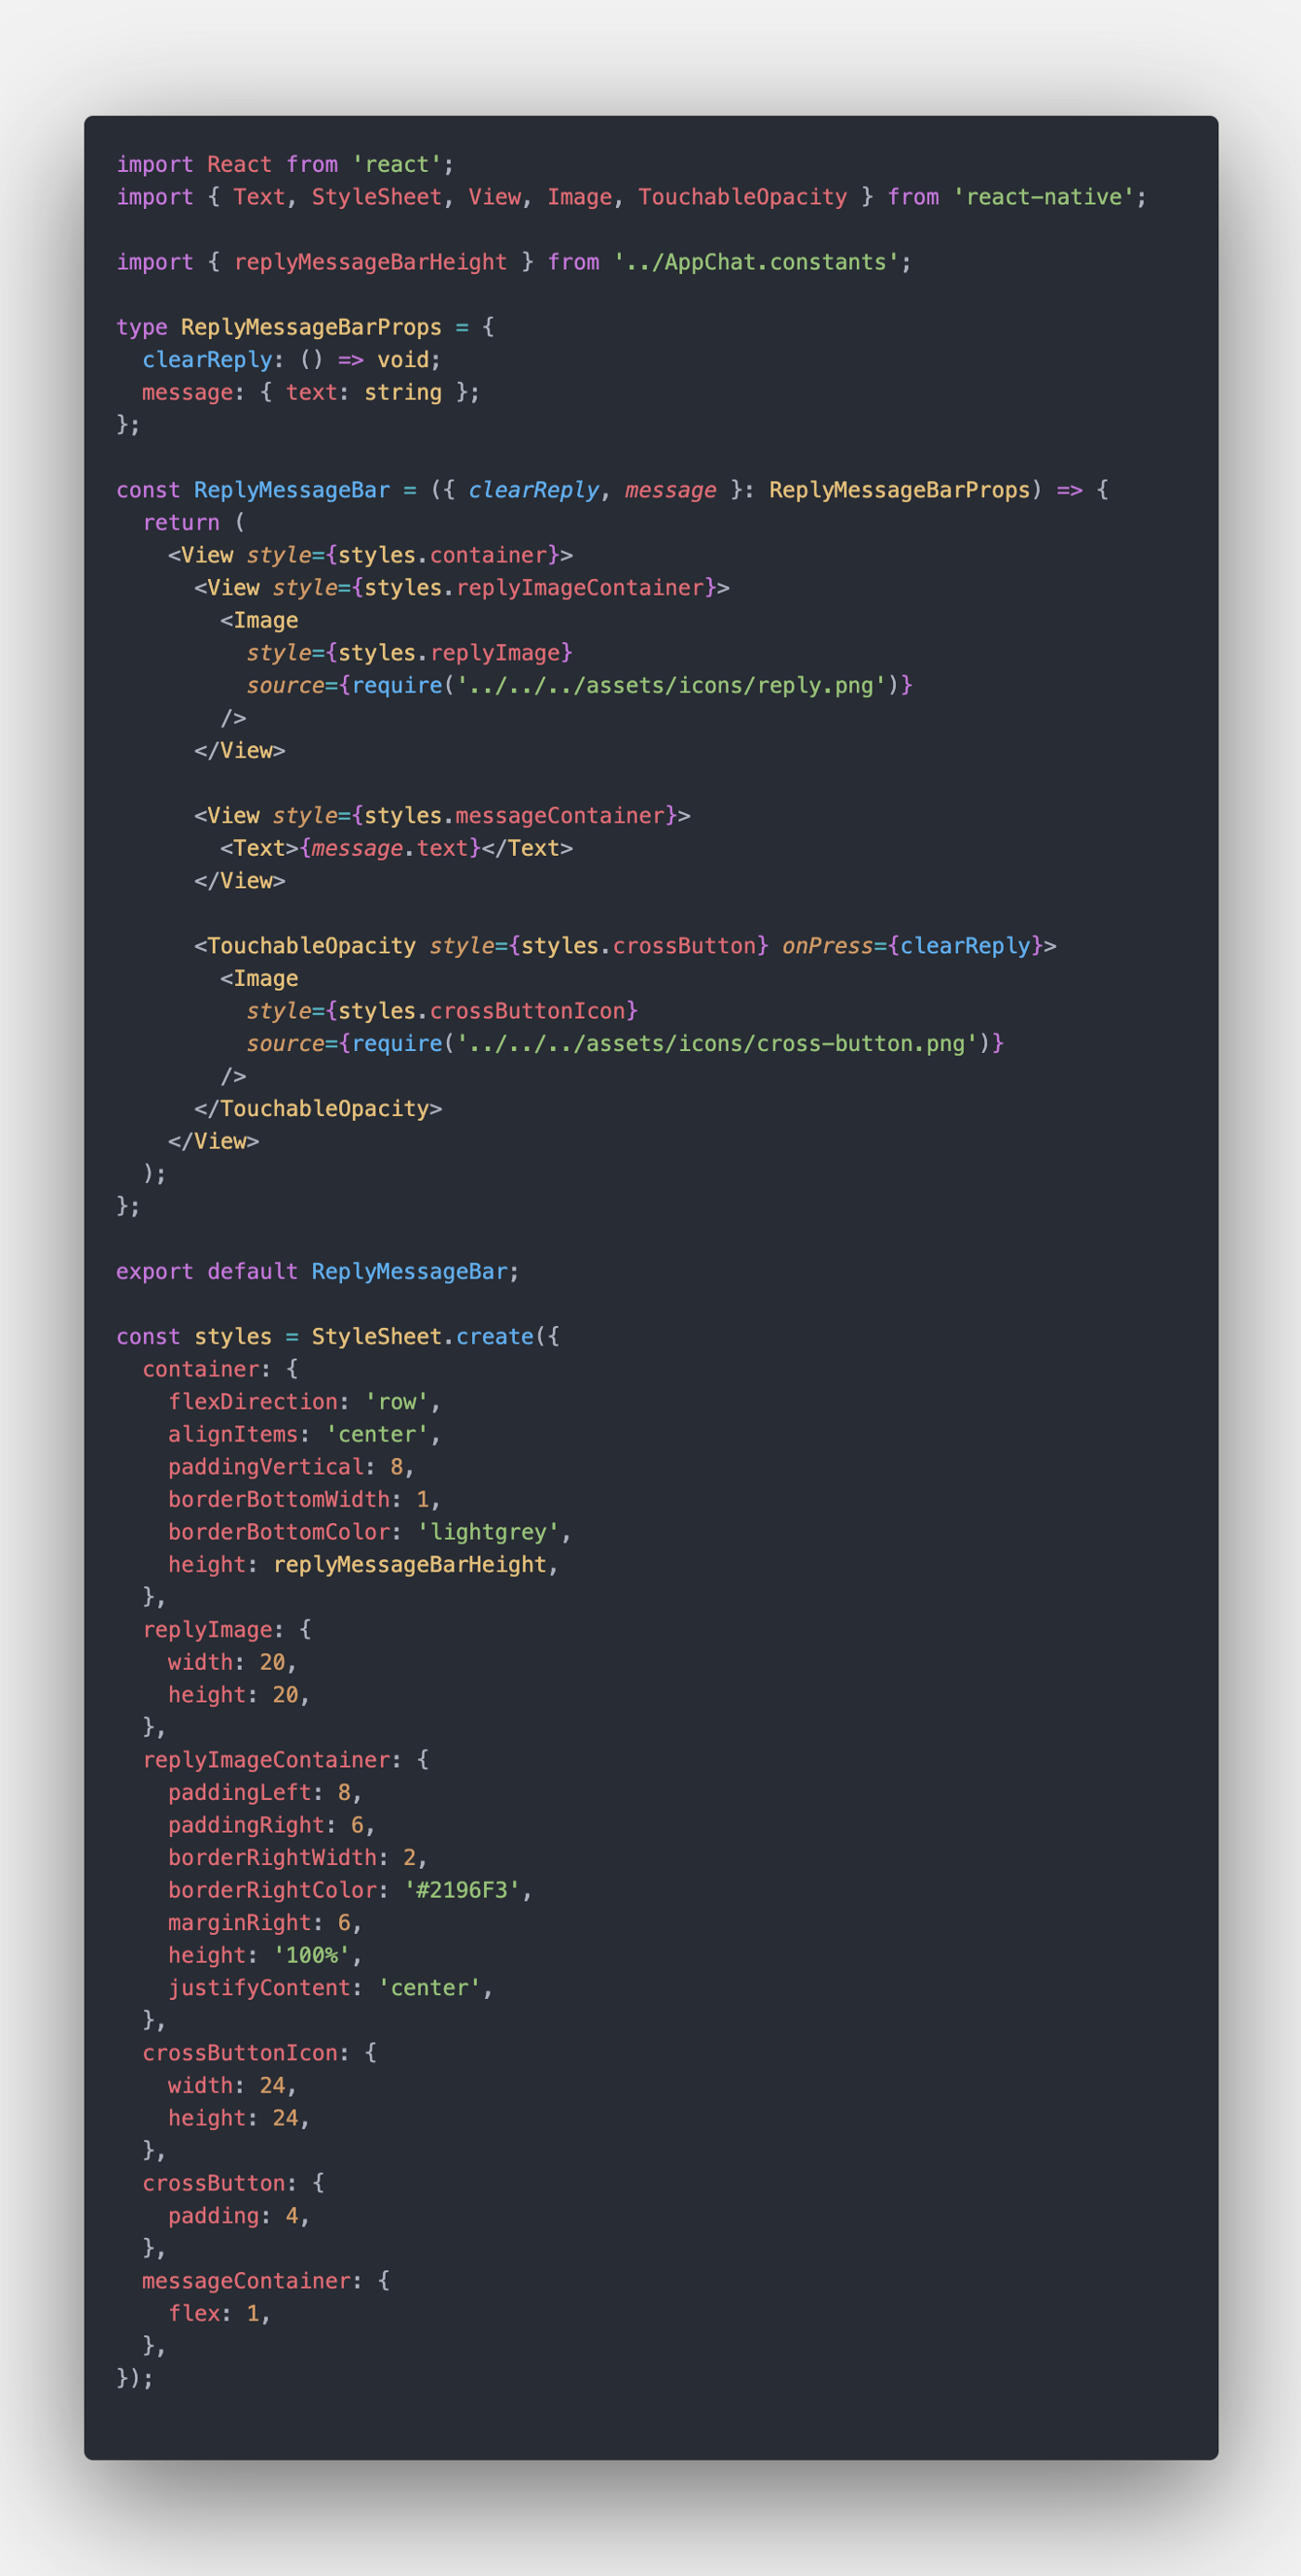
You can take the code from here.
P. S. ‘AppChat.constants.ts’ is just a file with one line:
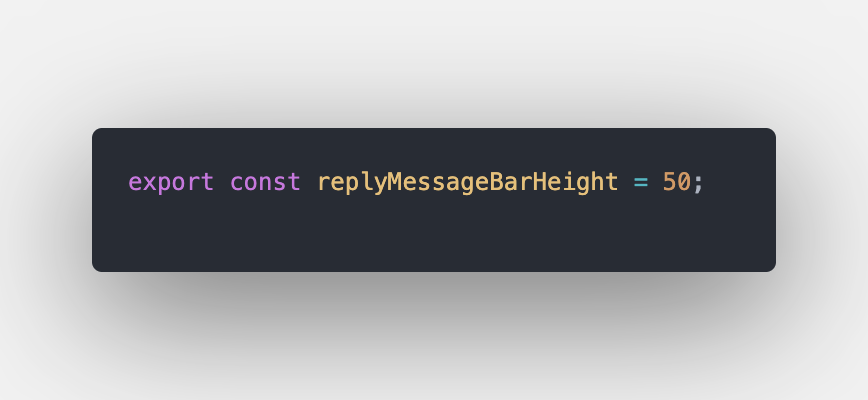
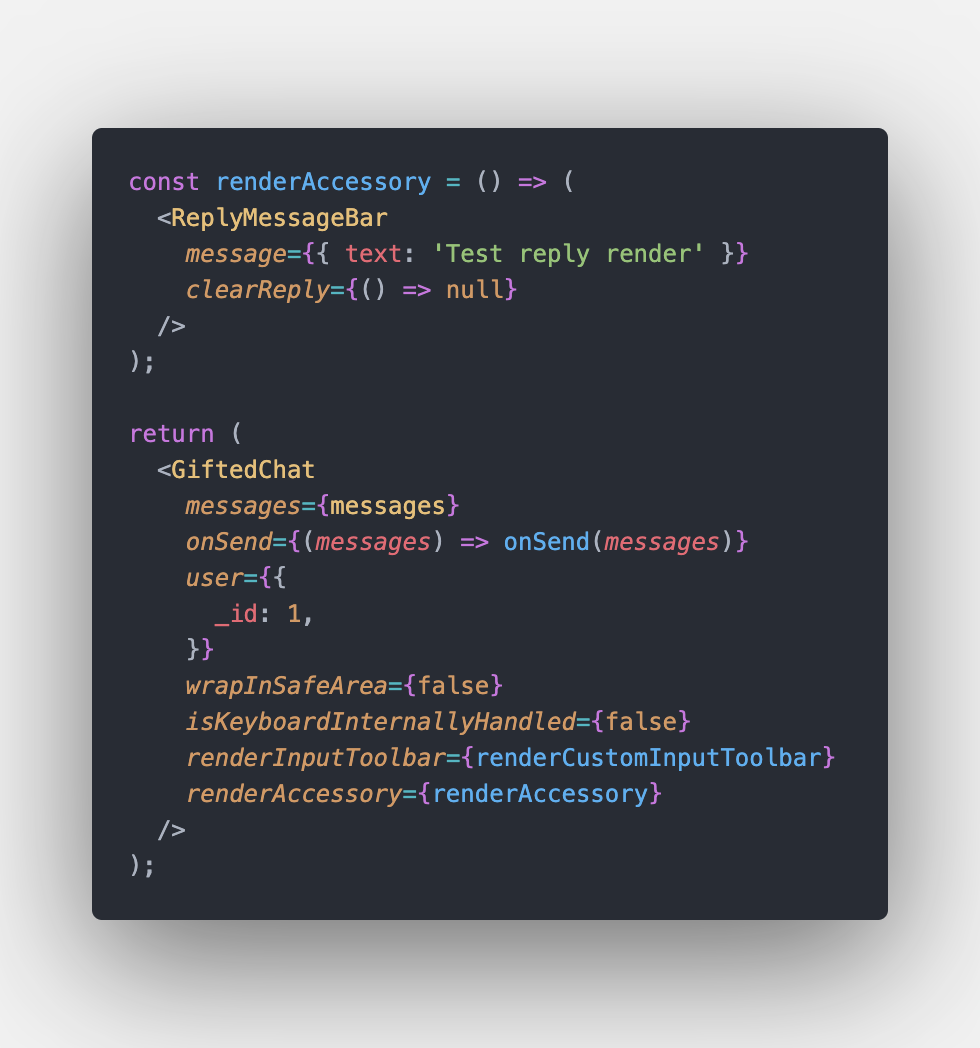
B) Render the component we have just created in the chat
In ‘AppChat.tsx’ we just create a new function that will return the ReplyMessageBar, and we use it like this:
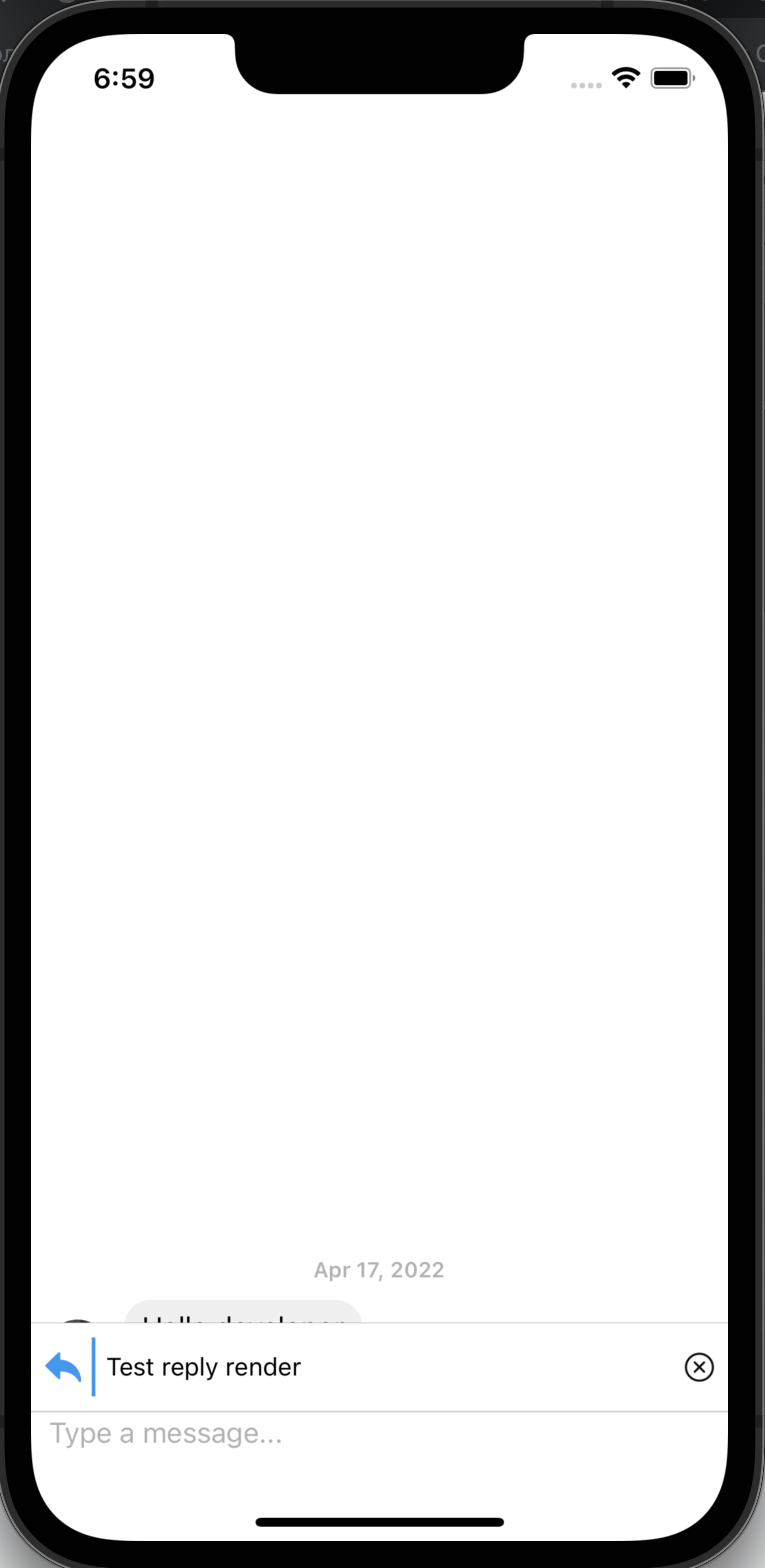
Here is how it looks now (styles will be fixed soon):
C) Logic to render the reply bar dynamically
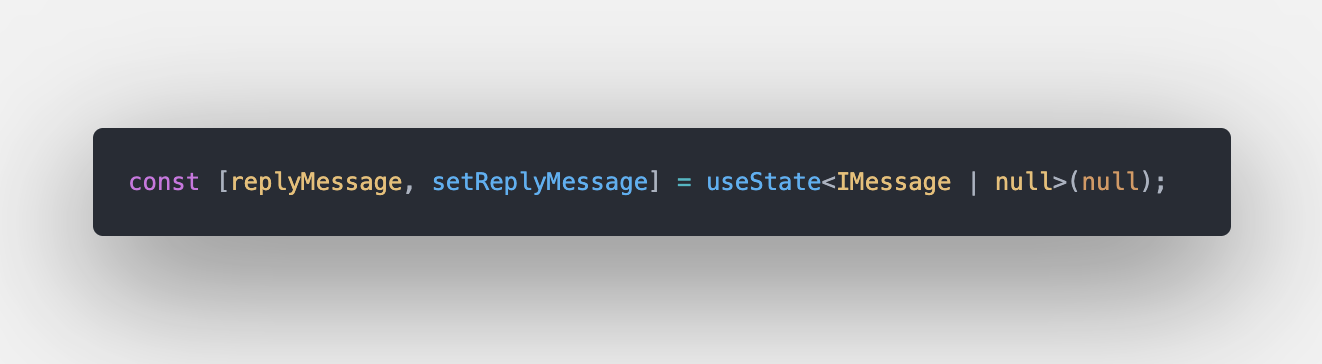
1. Add a new state in ‘AppChat.tsx’:
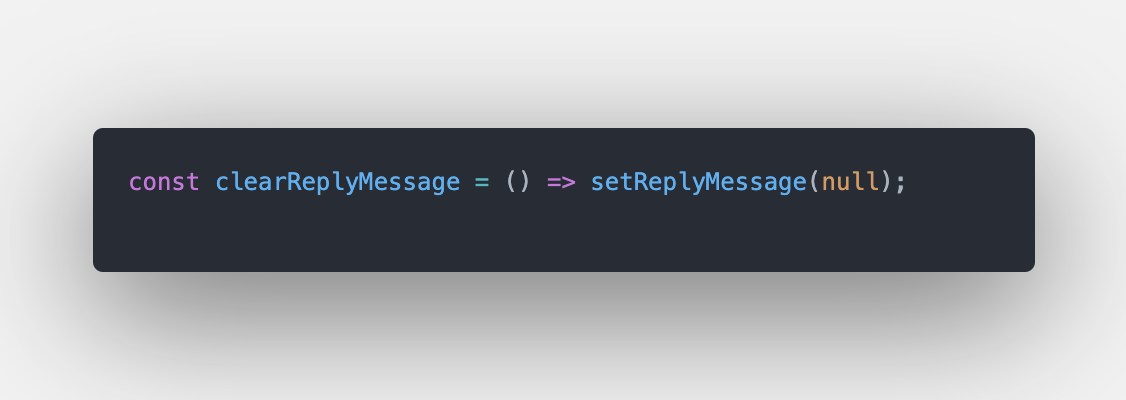
2. Create a clearReply function that we will pass to the ReplyMessageBar:
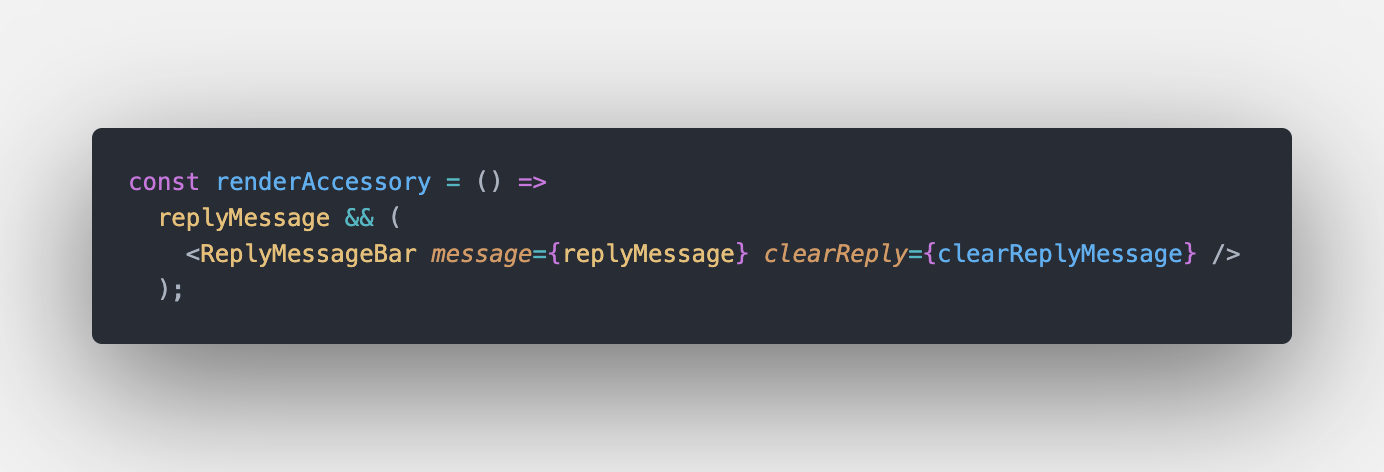
3. Update the renderAccessory function:
4. For now, let’s add the onLongPress prop to the chat component, to test out the logic (swipe will be done soon):
The result is:
Now let’s fix the problem with styles. We want the ReplyBar to take space when it is rendered, not each time.
a) Update the renderCustomInputToolbar function:

b) Add additional styles:

c) Apply messagesContainer styles to take up all free space:

The final result:

Step 4. Swipe with Animation
Now we are ready to do swipe animation.
For that, we are going to use the Swipeable component from the react-native-gesture-handler library.
All documentation you can read here: https://docs.swmansion.com/react-native-gesture-handler/docs/api/components/swipeable
a) Install the library to our project:
https://docs.swmansion.com/react-native-gesture-handler/docs/installation
For Expo I do: expo install react-native-gesture-handler
b) Create a new component — ChatMessageBox:

c) Use the new component in the Chat:

The initial set-up is done. Now let’s move on to Swipe logic.
d) Add Swipeable component with renderRightActions prop:

Here is how it looks now:

Great! It works! BUT! Not for Android…
To make it work on Android, we just need to wrap our Swipeable component with GestureHandlerRootView:

Android look:

e) Let’s do Animation to make it look nice and sweet. We will make the icon grow when swiping.
For that, we use Animated API.
Update the renderRightAction function:

The result is:

As you see, the height of the Animated.View is bigger than the message bubble, so we will add some bottom margin to align the icon in the middle.
Code is taken from the library: https://github.com/FaridSafi/react-native-gifted-chat/blob/master/src/Bubble.tsx#L285
- We do import { isSameDay, isSameUser } from ‘react-native-gifted-chat/lib/utils’;
- Create a new variable — isNextMyMessage
- Add new styles depending on the value of the variable

You can take the code from here
The result is:

Perfecto! Now, this is what we want.
But, I also would like to add some offset on the left for messages rendered on the right, so I just do styles.leftOffsetValue = { marginLeft: 16 }:

And it looks like this:

Now it’s perfect)
FINAL
Let’s do a reply message on Swipe now.
For that, we use the onSwipeableOpen prop of the Swipeable component.
- Update the type of the ChatMessageBox props:

2. Pass setReplyMessage function to the ChatMessageBox component:

3. Create a new function for onSwipeableOpen:

This is how it works now:

As you see, we need to click on Message to close the swipe. Which is not perfect UX.
We will fix that in the next part.
If you like the article, you can support me by clapping below??
Thank you!
Ten articles before and after
Six recent themes, archived and indexed for your ~~clicking~~ pleasure. – Telegram Group
Post new Discord messages on Telegram. – Telegram Group
Children’s Aid Token – Yusuffbot – Medium – Telegram Group
data-rh=”true”>EasyCrypto – Yusuffbot – Medium – Telegram Group
AMA with Konstellation. On the 8th of April, 2022 at 02:00 PM… – Telegram Group
React Native Chat 2022. Reply on Swipe like in Telegram. Part 2 – Telegram Group
AMA with TooNFT. On the 19th of April, 2022 at 10:00… – Telegram Group
Bot Telegram. Por Prensa Glufco – Telegram Group
Notify Monit alerts to Telegram. Monit is an open-source tool for… – Telegram Group