How to build a Telegram Bot With NodeJS & Ngrok for local development
Why Telegram and Why A Bot
Bots are quite useful, they can fill a number of scenarios, everything from:
- Community Moderation
- Customer Service
- Automated / Expedited Tasks
- Handling Payment Transactions
Telegram is one of top mobile apps / platforms that offers security with encryption and on a completely free, fast, and distributed system. It also has a good, simple, well documented API.
WhatsApp would be another platform to look into, but maybe for another day.
Getting Permission From BotFather
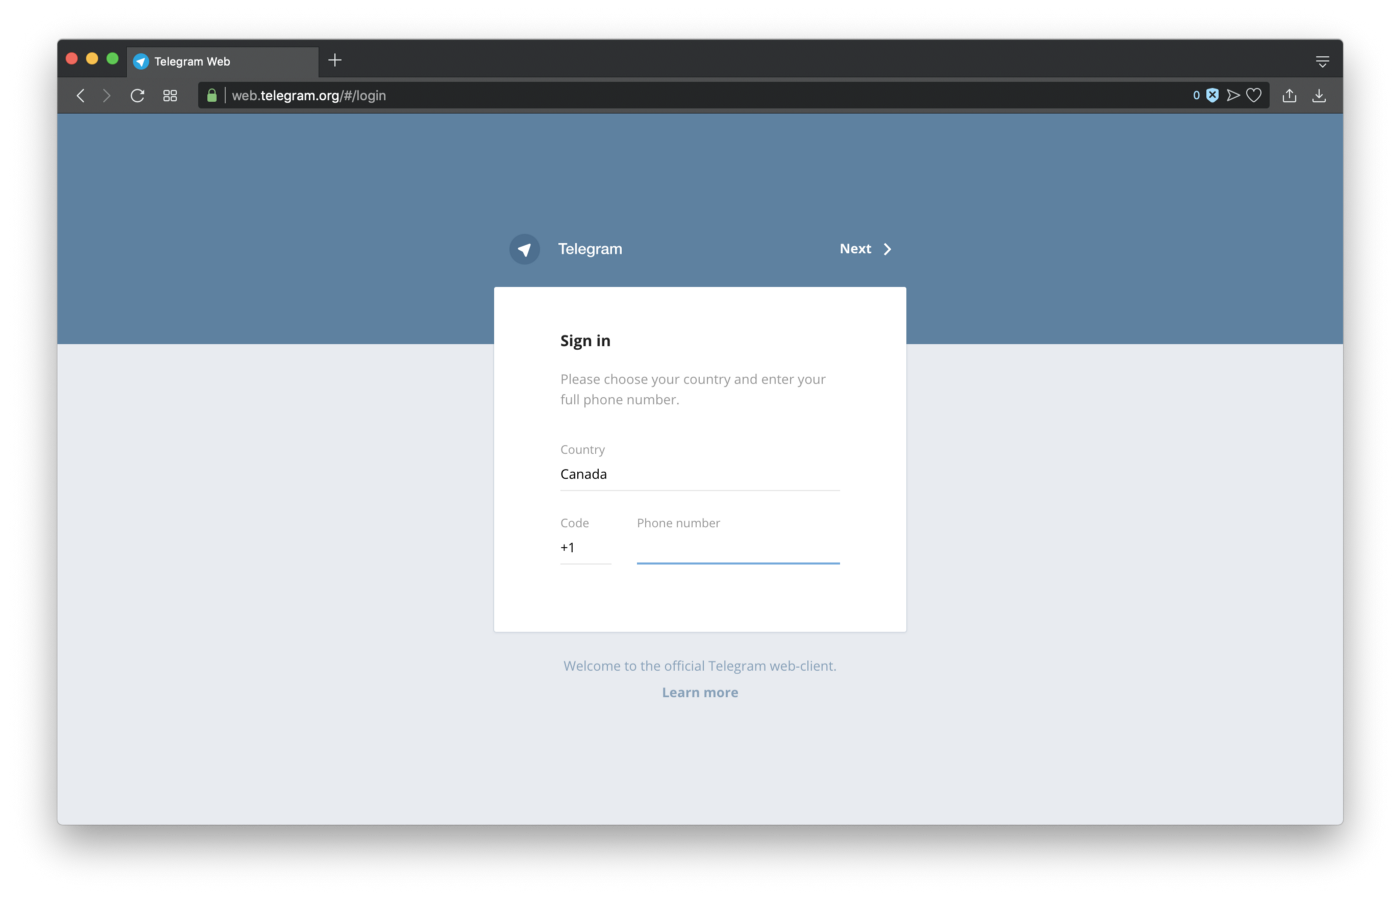
If we look into the Telegram bot documentation, you’ll noticed that there is one requirement for creating a bot: you need an account. The only way to sign up is through your mobile phone with a valid cell number.
Once we do sign up, you can use the web version to log into your account:
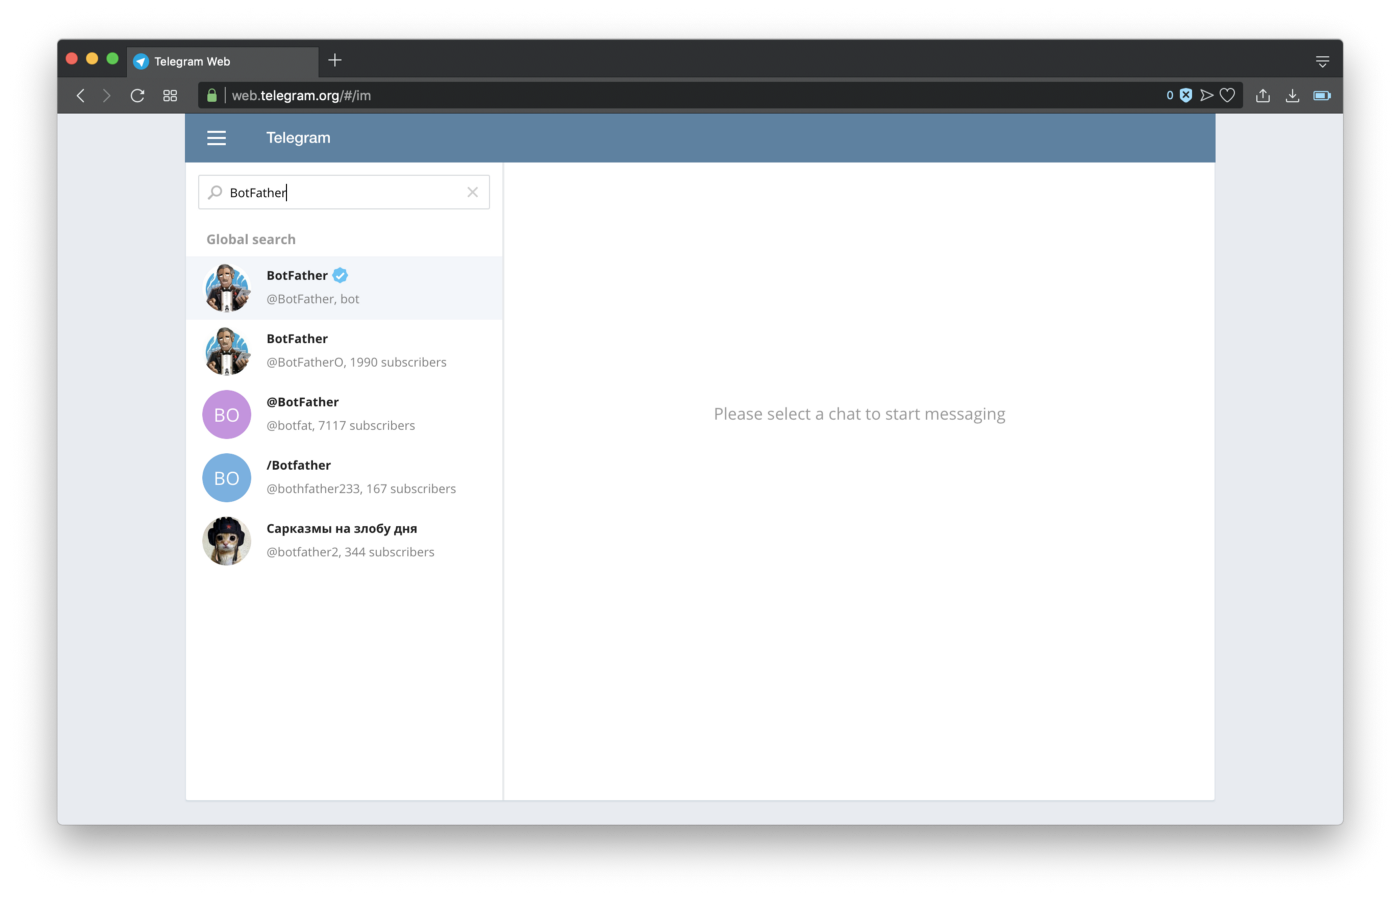
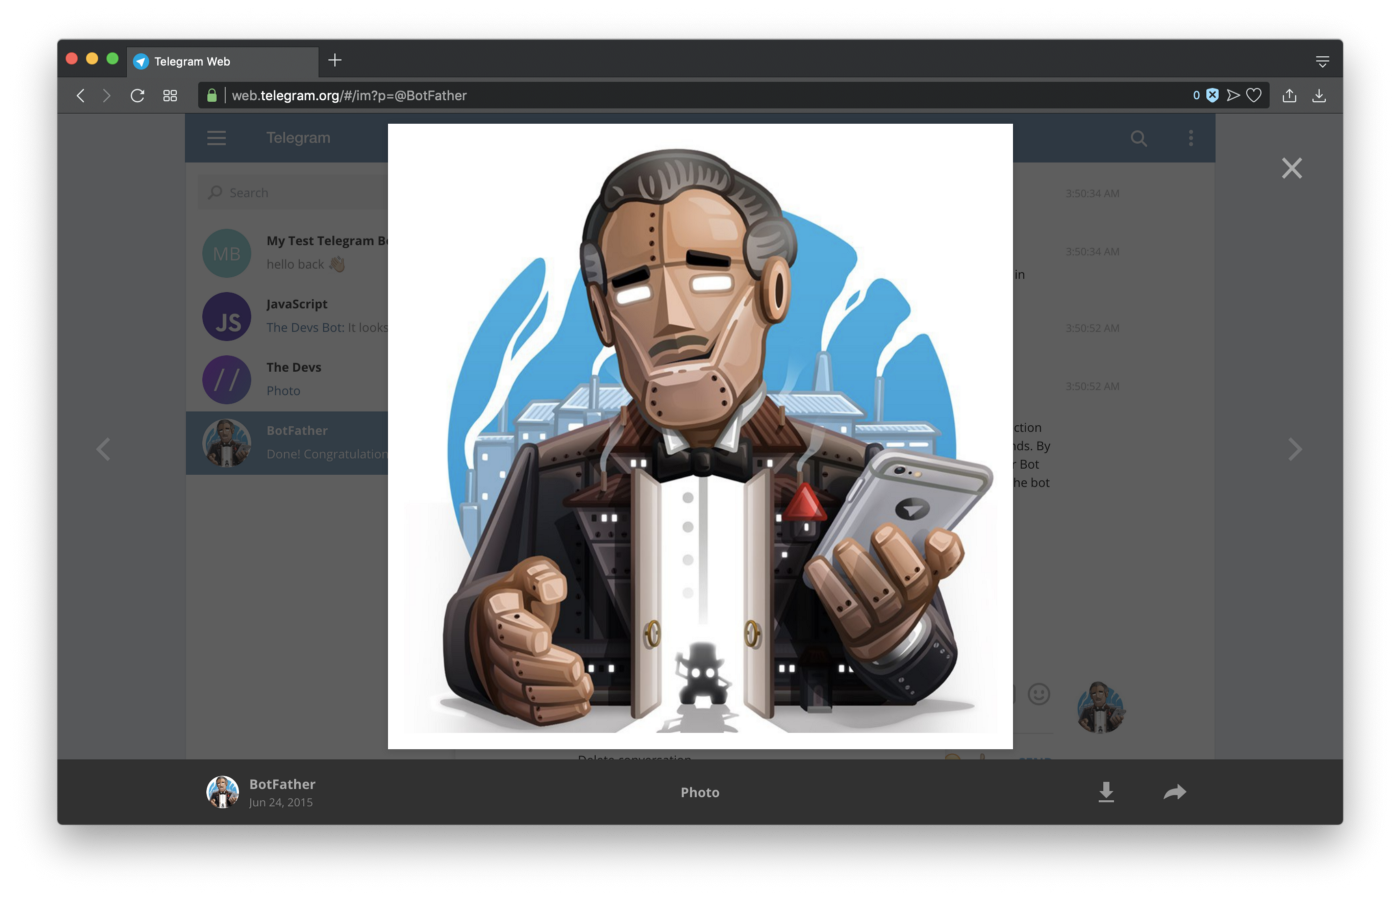
Once we’re signed in, we’ll need to search for BotFather himself and start a conversation with him.
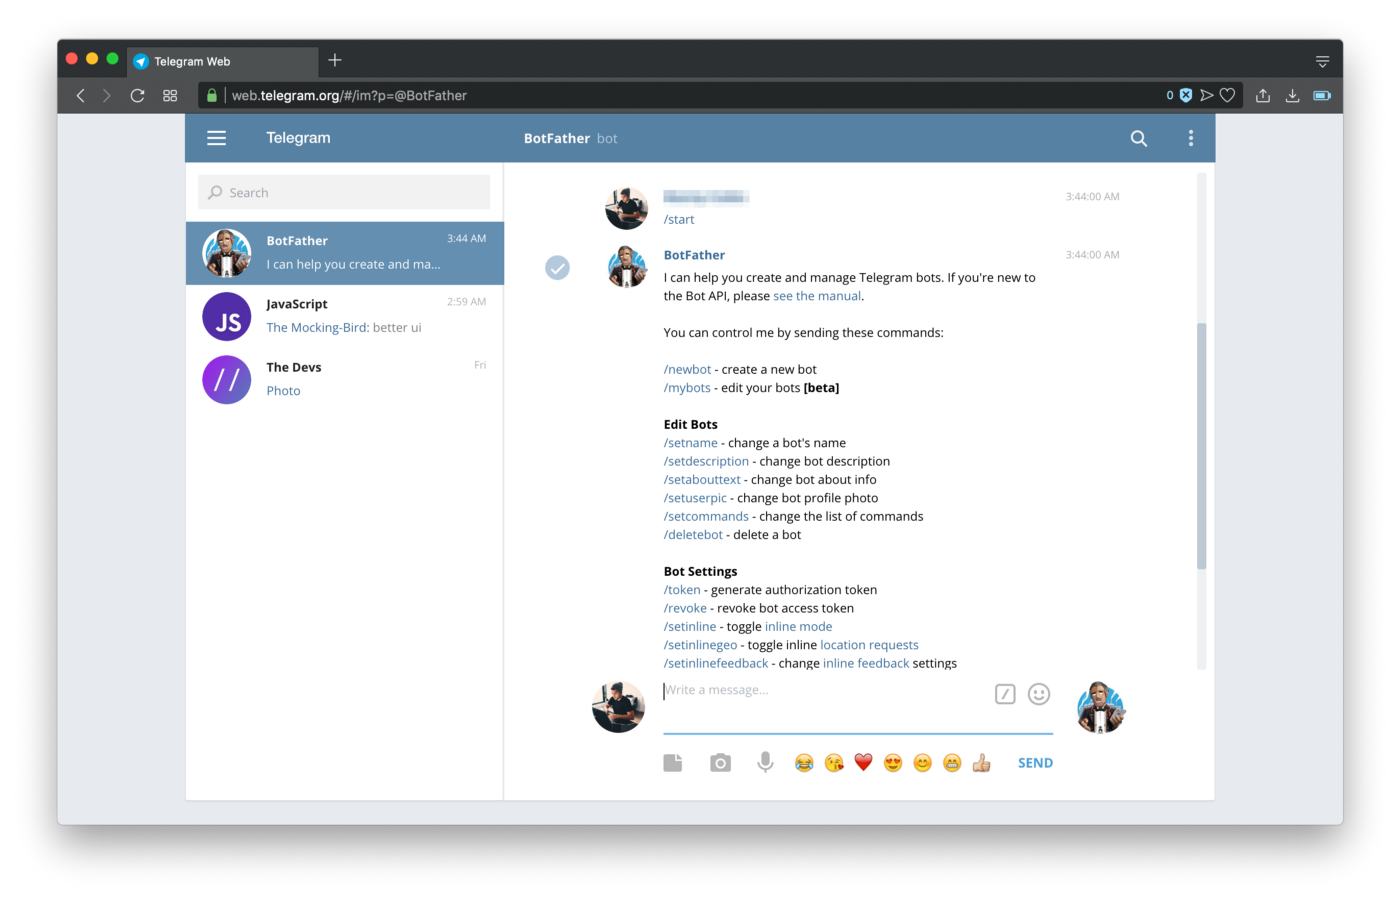
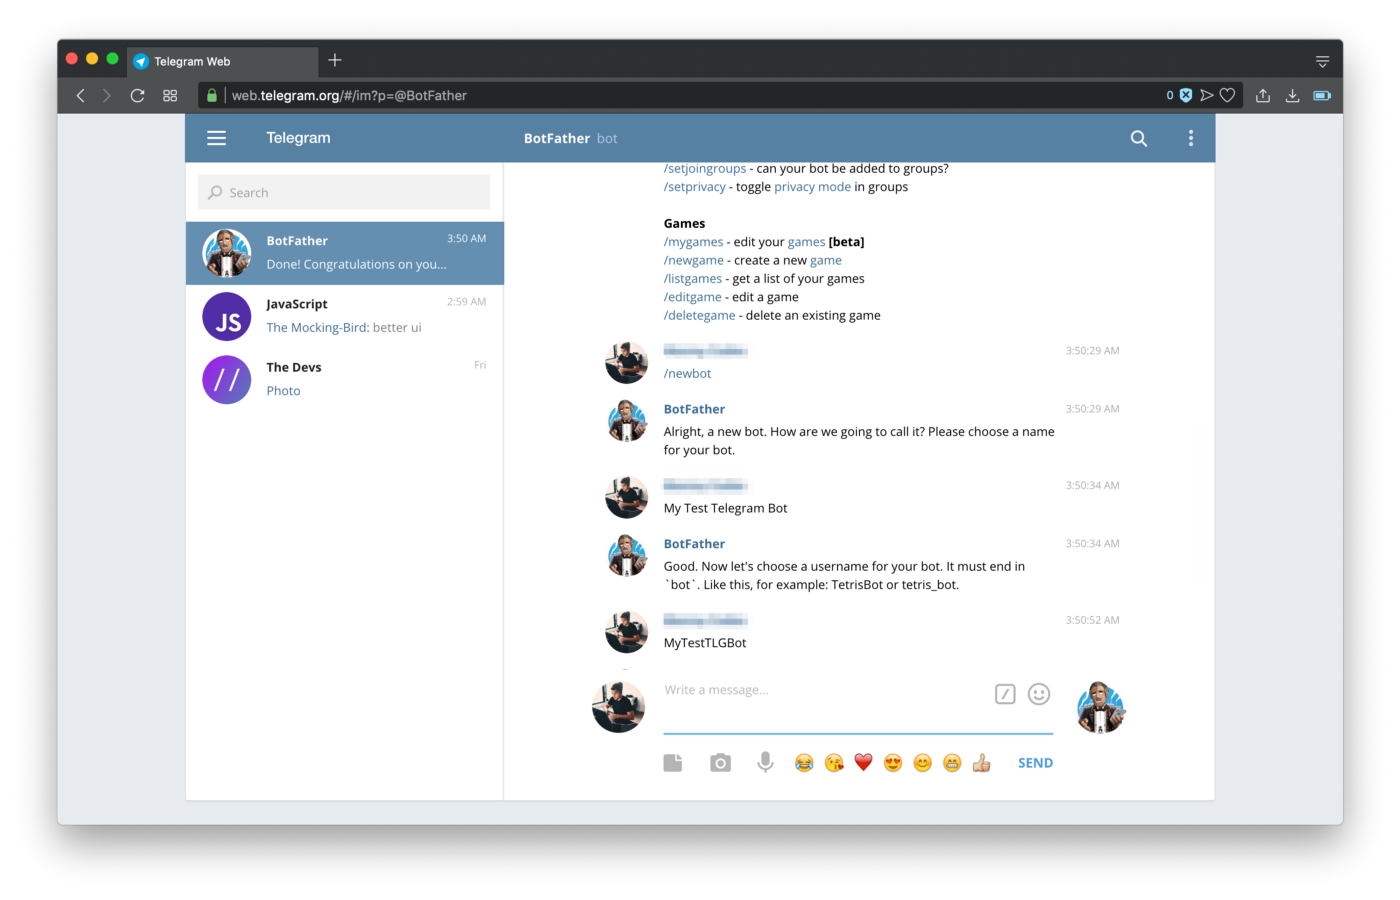
We’ll now invoke the process of creating a new bot with:
/newbot
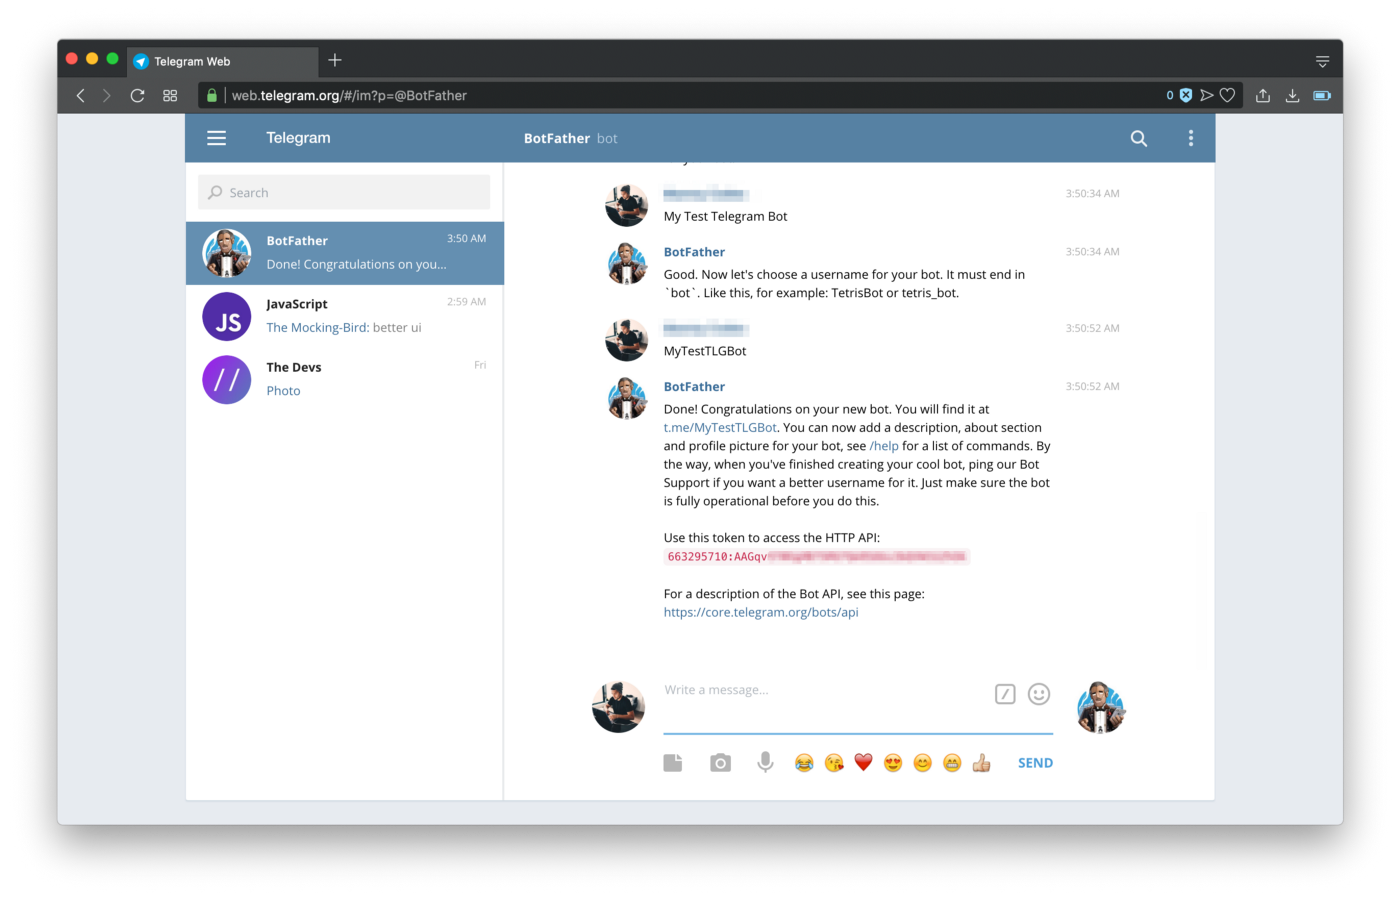
Give it a name and a username:
Once that process is complete, you’ll get an API Token to use, copy it somewhere, we’ll be using it soon in another application to make http request.
Using Postman To Configure Bot
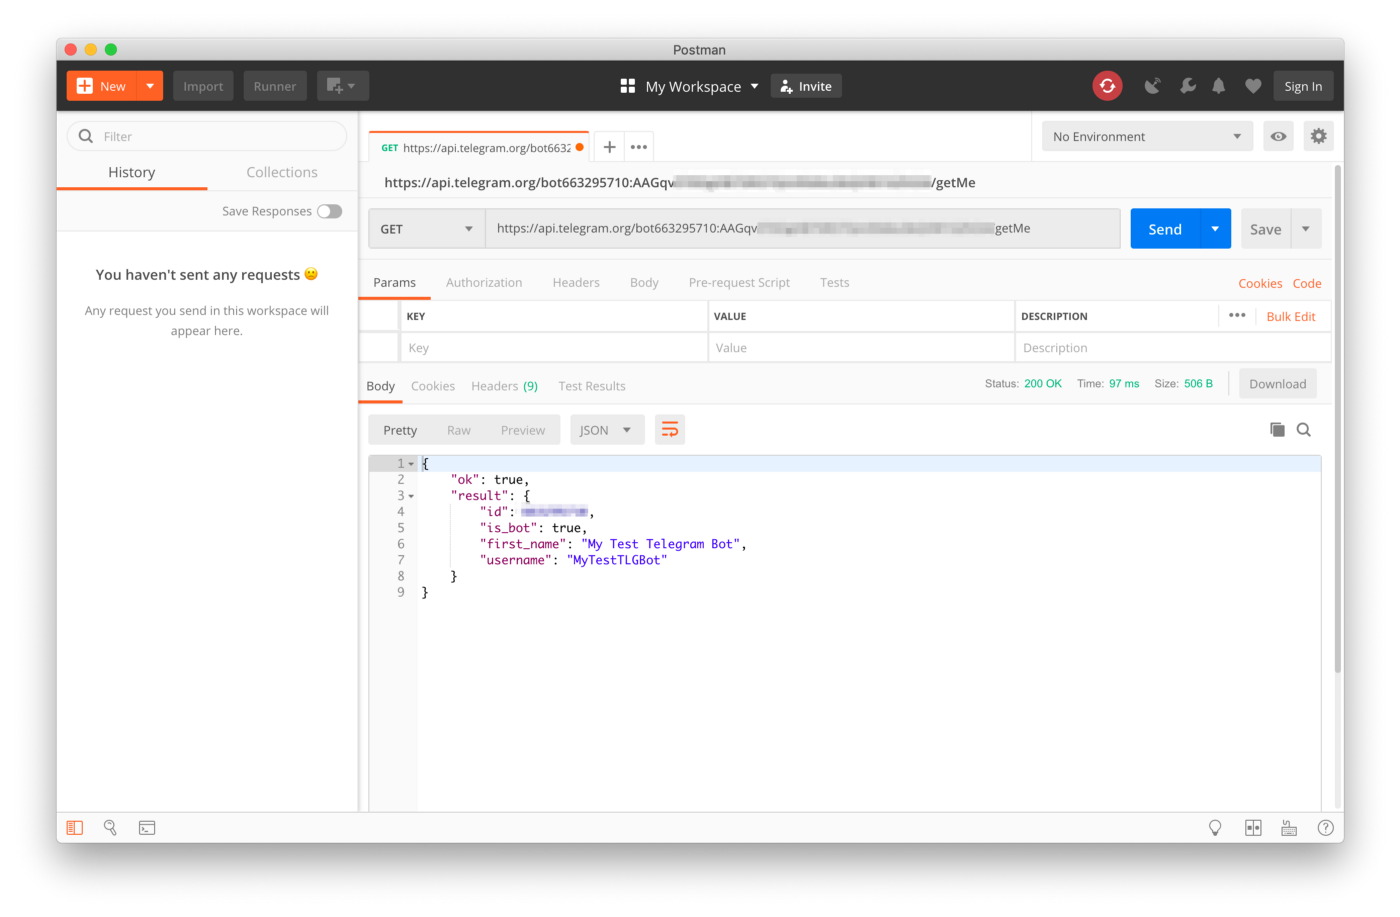
Now that we have the bot, let us use Postman App to test a few things. Using the Telegram Bot API docs, we’re going to get the status of the bot.
# HTTP request format
# https://api.telegram.org/bot<token>/METHOD_NAME# our first method /getMe
https://api.telegram.org/bot123456:ABC-DEF1234ghIkl-zyx57W2v1u123ew11/getMe
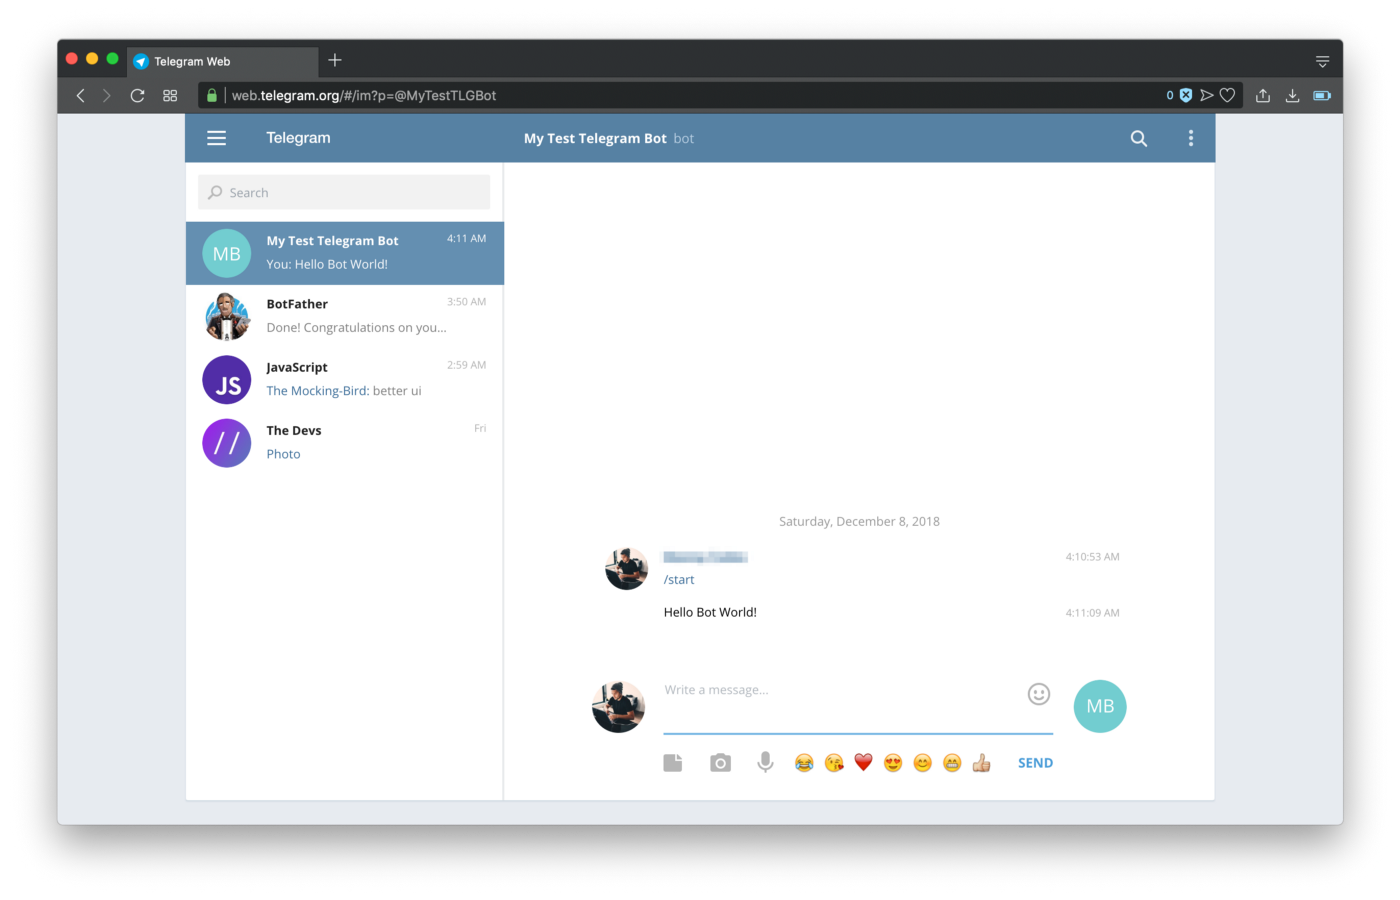
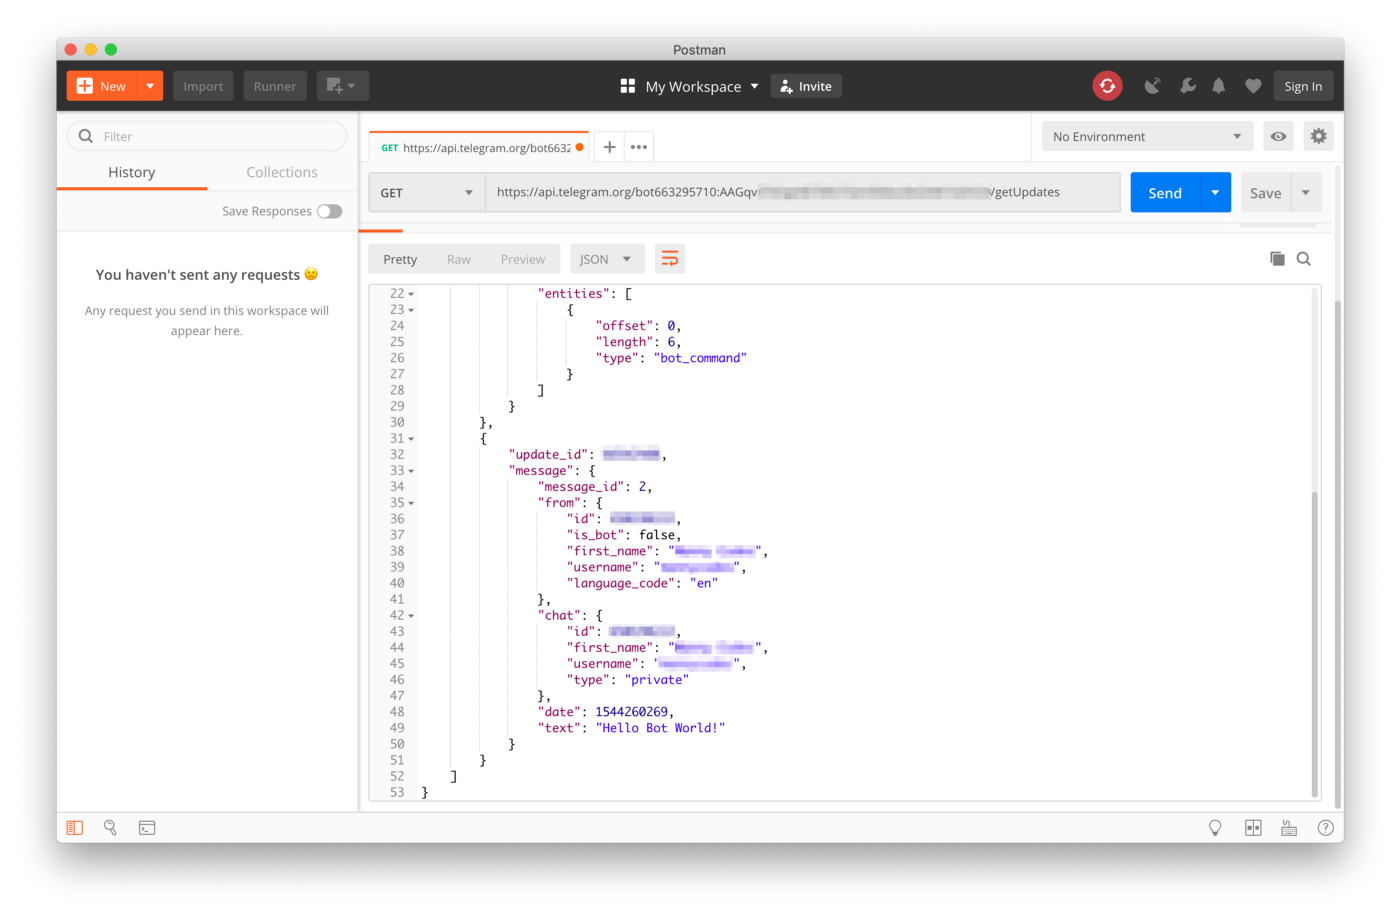
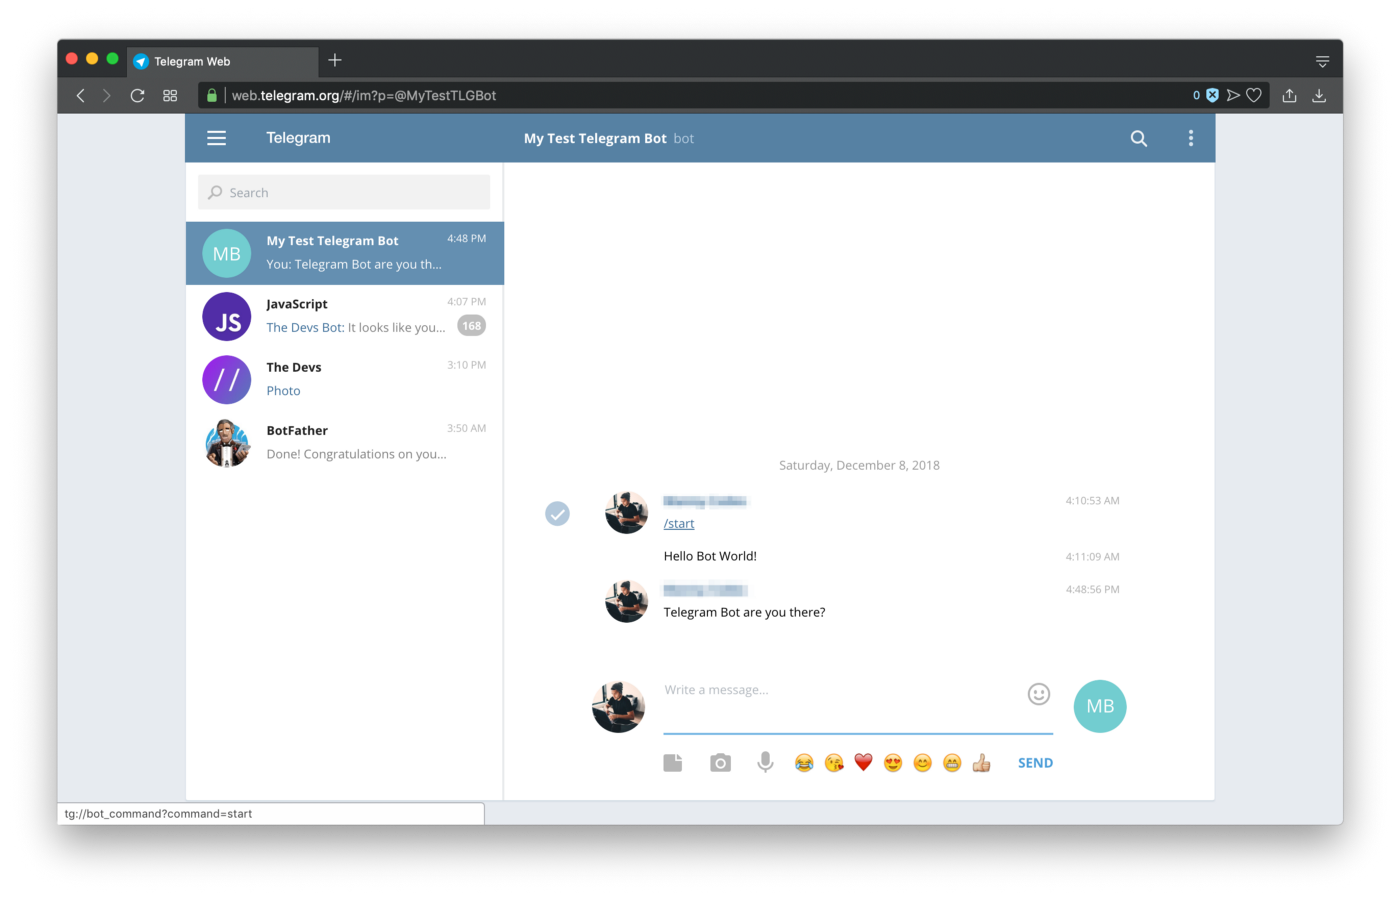
We can also test our interaction with our new bot and see the results of that recent interaction:
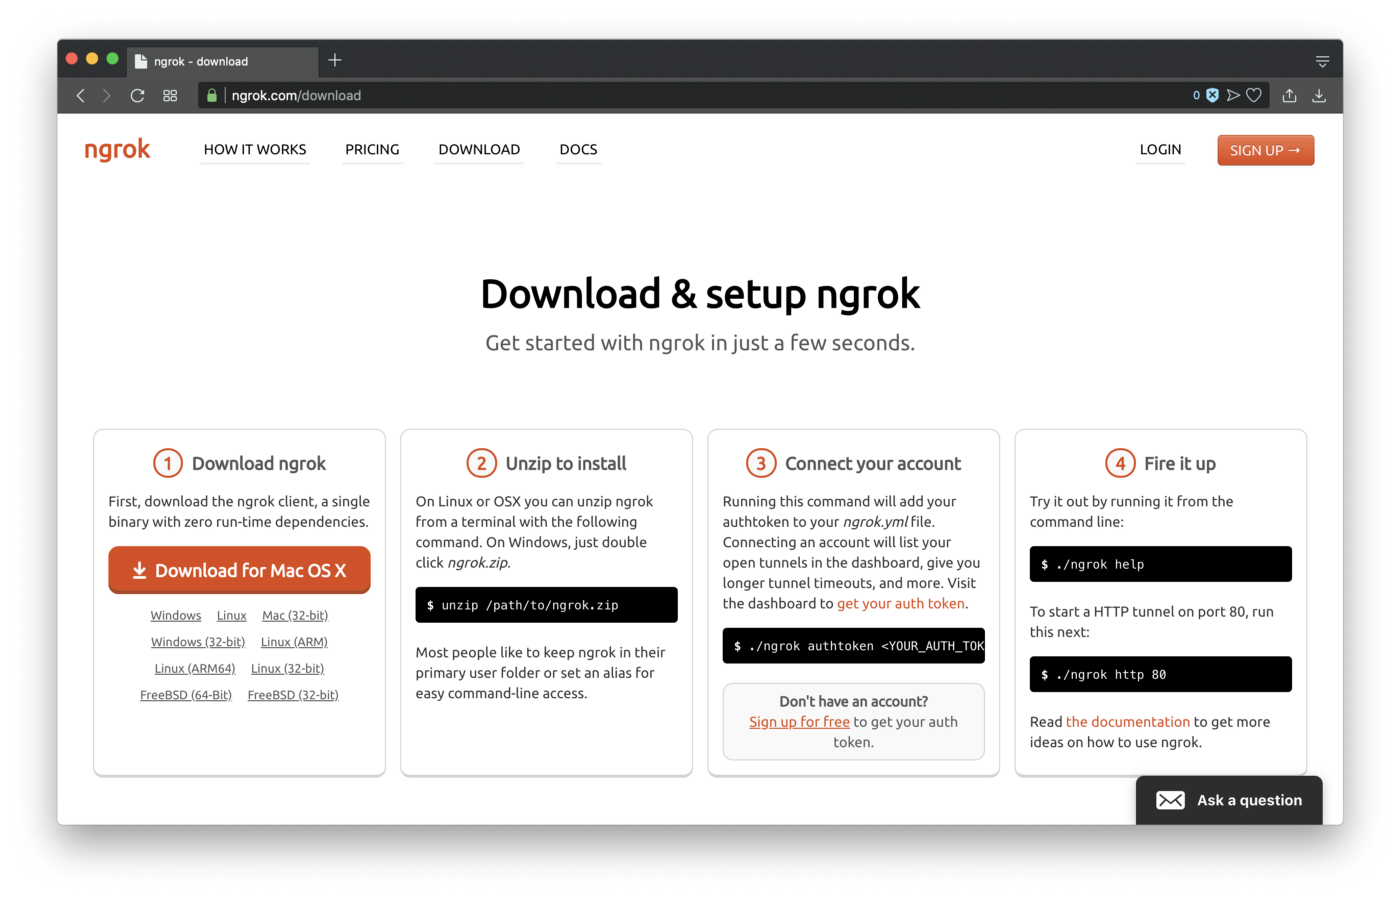
Using Ngrok To Tunnel / Forward Connection
In most third-party applications with an API, they require a public URL that the platform can send the data to. We could go the route of registering a new domain name, settings up an SSL certificate to allow for HTTPS, and deploy our code to this hosted solution, but we just want to be able to test our application in local development. That’s where Ngrok comes in:
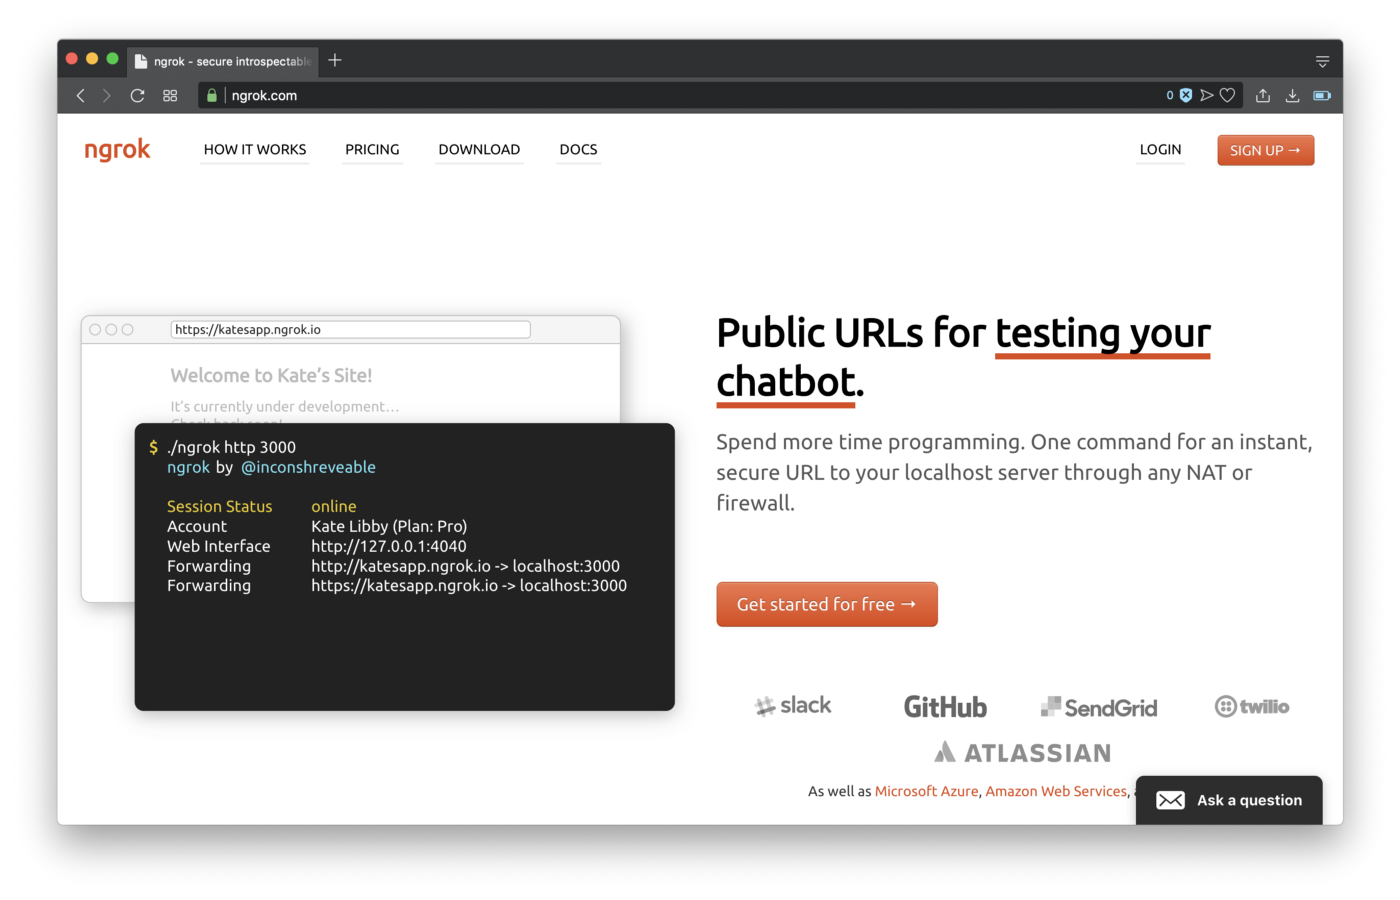
It’s quite simple, but let’s download it and get the url setup.
To start ngrok just run:
./ngrok http 80
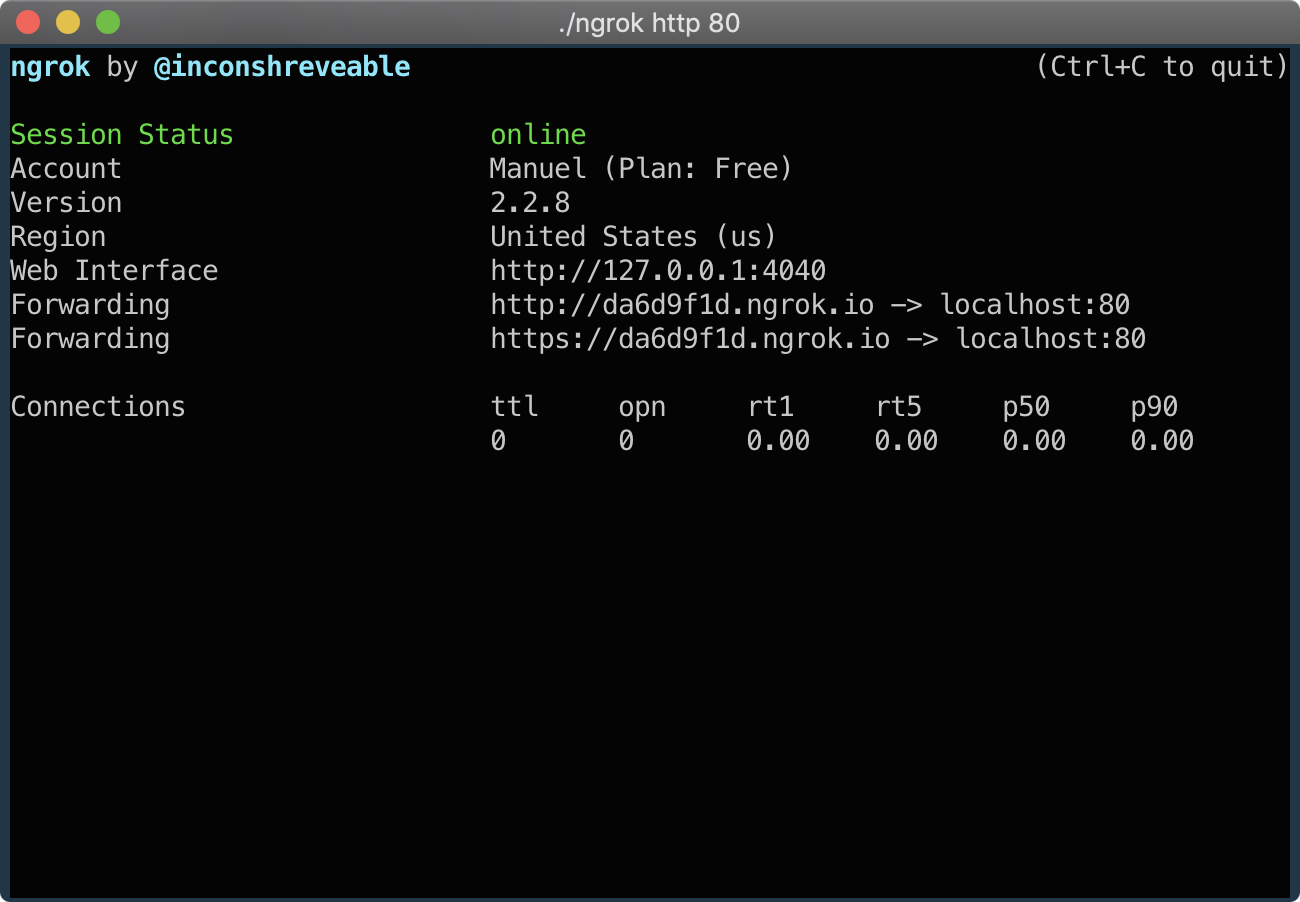
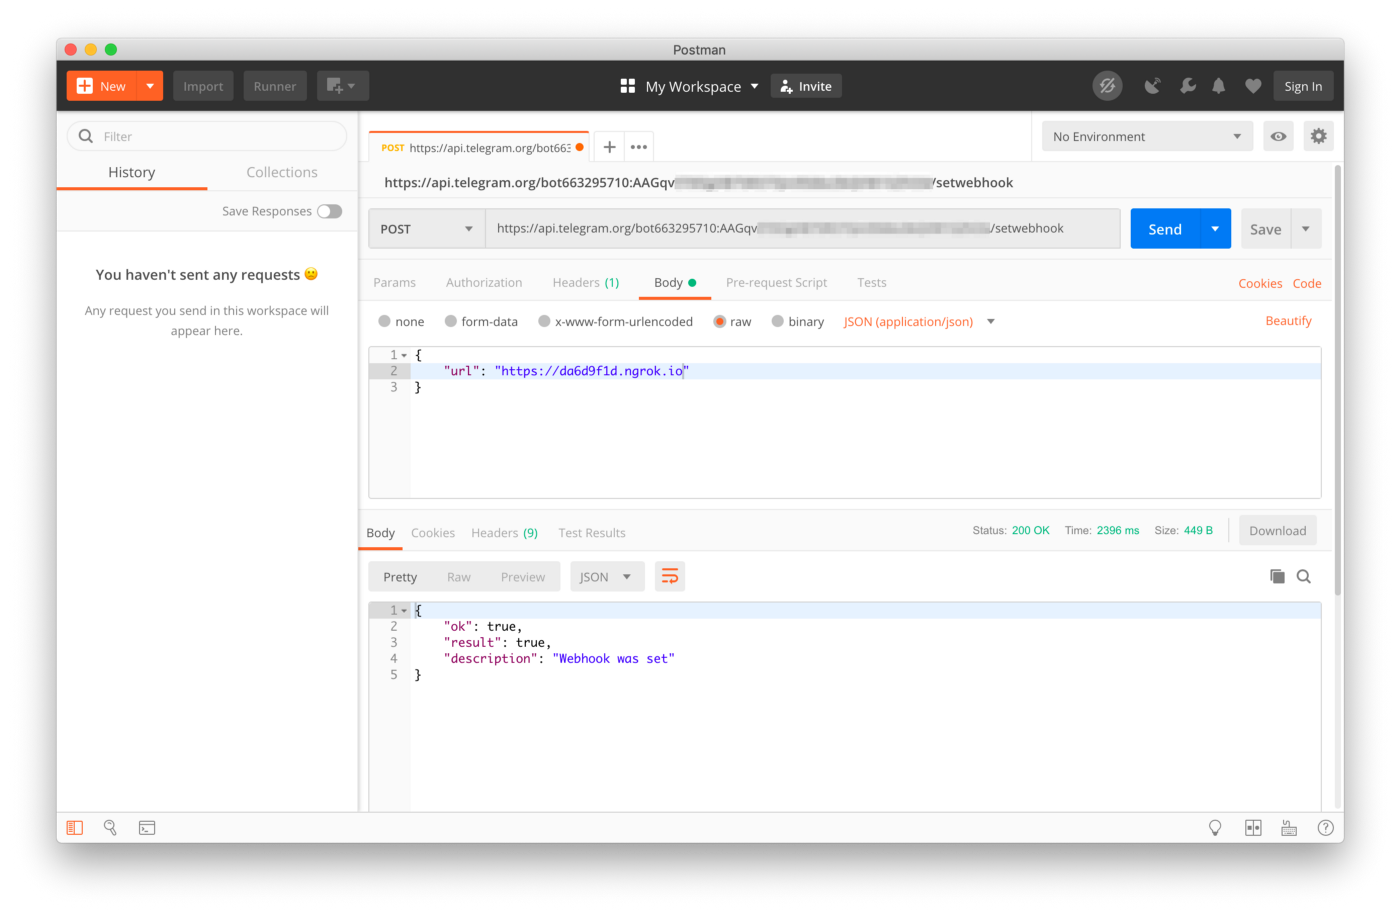
We’ll be using the https forwarding url generated by ngrok, in this case it’s:
https://da6d9f1d.ngrok.io
And set it as our main endpoint for accepting request for the webhooks from Telegram. To do this, we’ll need this url, and set it as the main url through Postman, as documented by the Telegram Bot API.
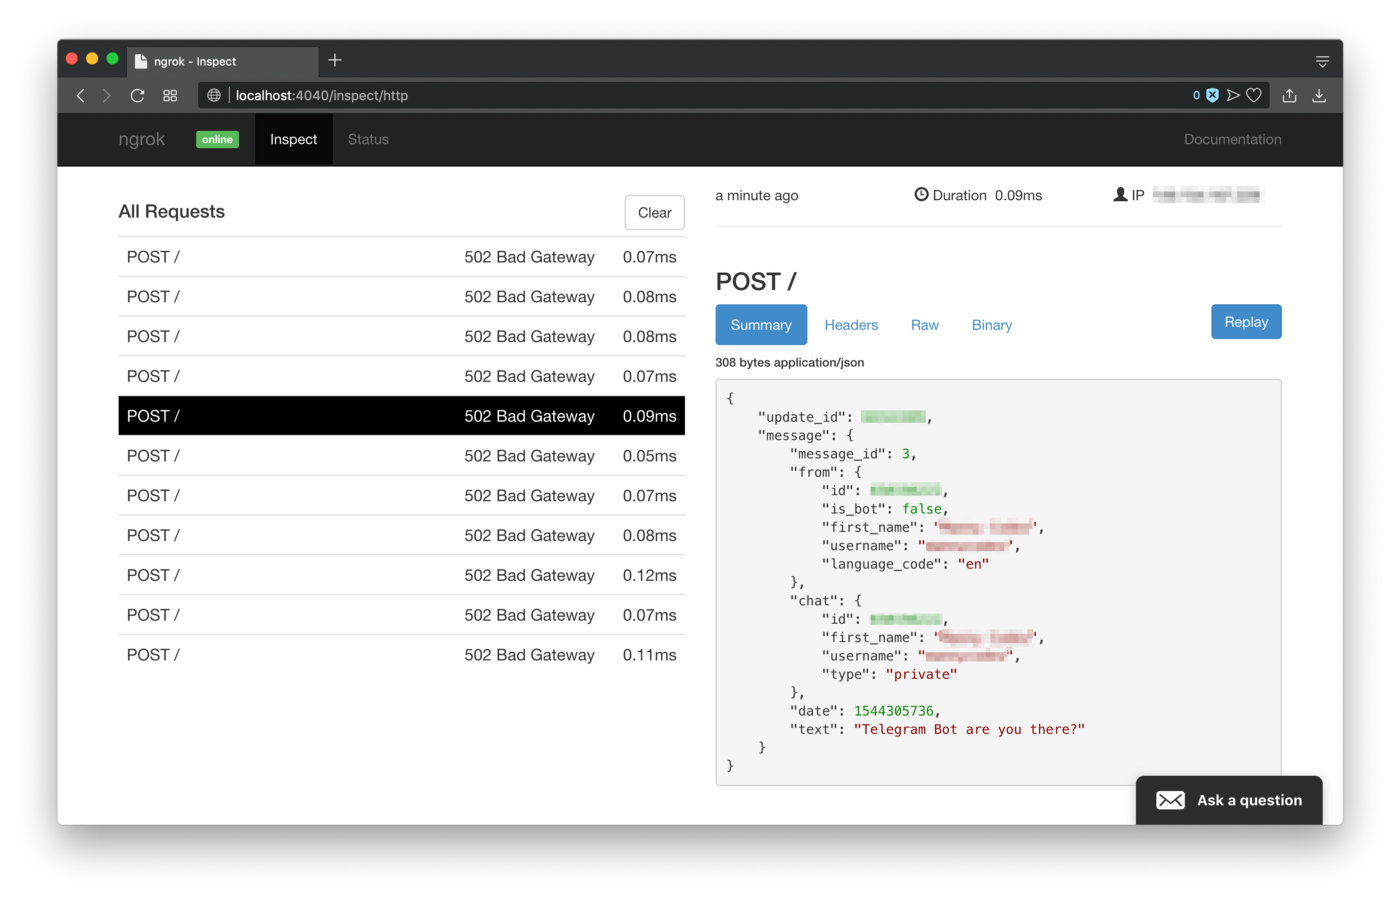
There is a nice feature in ngrok that lets you see incoming requests on port 4040.
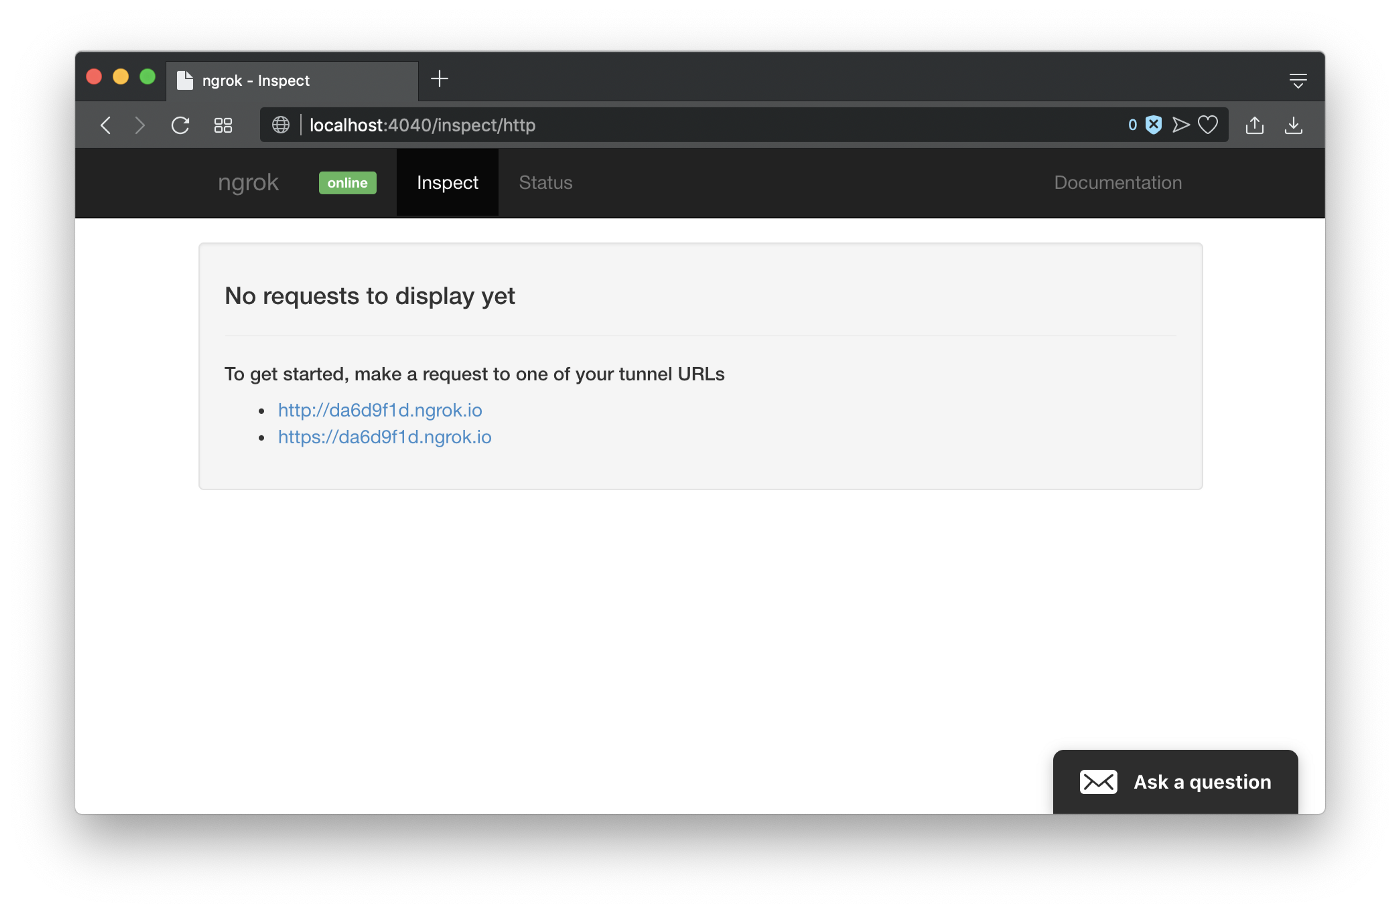
You might see some incoming POST requests with 502 Bad Gateway. That’s because we’re still getting requests that were sent before to our bot that weren’t taken care of (didn’t successfully get sent). Let’s see a sample request go through that will still fail.
Now that we’ve established a connection, let’s create our first endpoint that will accept this a message and reply back.
Building NodeJS API
For this we’ll need to create our first NodeJS application. In a new project directory, we’ll need to initiate NodeJS.
# configure as needed
npm init;# install dependencies
npm i express axios body-parser --save;# create main file
touch index.js;
In our file, configure a simple output to return the data and just console log the payload in Terminal.
index.js
// Dependencies
const express = require('express');
const app = express();
const axios = require('axios');
const bodyParser = require('body-parser');
const port = 80;
const url = 'https://api.telegram.org/bot';
const apiToken = '{api-token-given-by-BotFather}';// Configurations
app.use(bodyParser.json());// Endpoints
app.post('/', (req, res) => {
     console.log(req.body);
     res.send(req.body);
});// Listening
app.listen(port, () => {
     console.log(`Listening on port ${port}`);
});
Save the file, and let’s run it:
node index.js;# [Expected Output]
# Listening on port 80
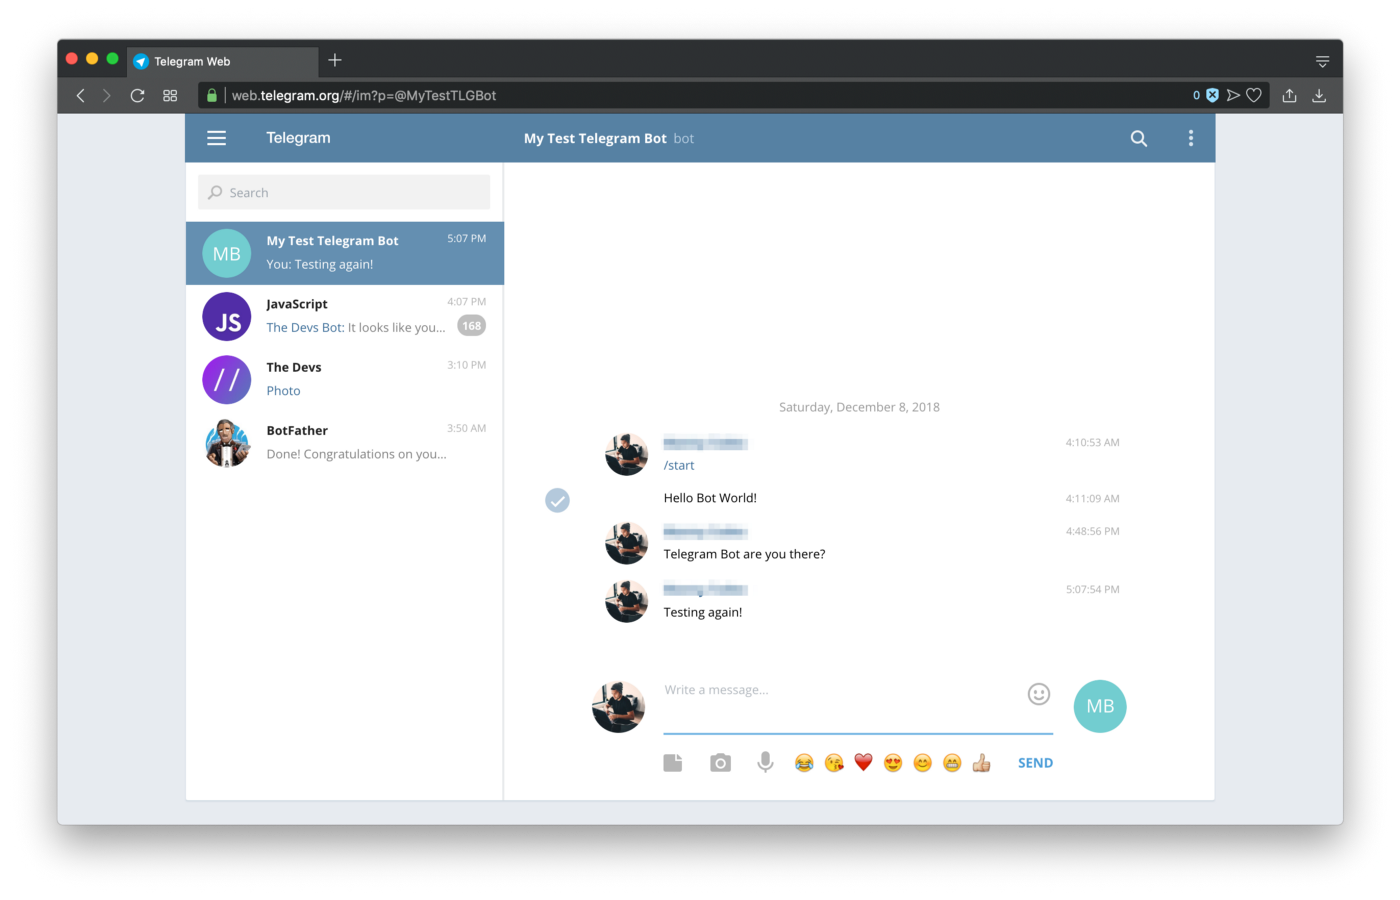
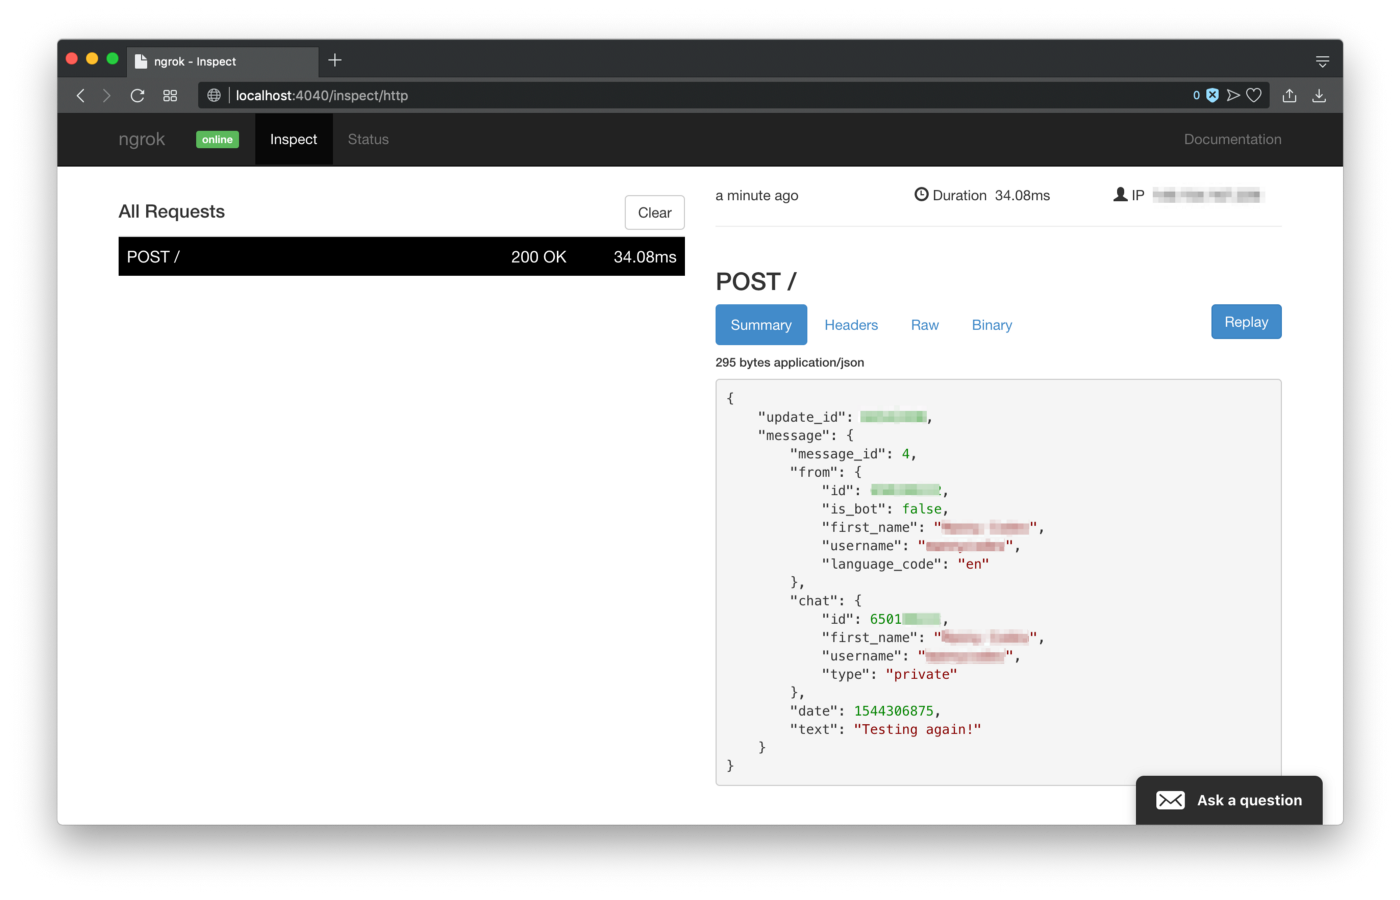
You might see some past requests coming in and output a result similar to this JSON, but just in case you don’t, send another message through Telegram to the bot:
The main thing we need to be aware of is the chat.id from the POST payload request:
Next let’s modify our script to filter the text and see if the word “hello” is present and respond with a message of “hello back ?” if that message exists. In order to accomplish this, we’ll need to send an HTTP request with axios to send the response back to the Telegram Bot API to reply to the user.
index.js
// Dependencies
const express = require('express');
const app = express();
const axios = require('axios');
const bodyParser = require('body-parser');
const port = 80;
const url = 'https://api.telegram.org/bot';
const apiToken = '{api-token-given-by-BotFather}';// Configurations
app.use(bodyParser.json());// Endpoints
app.post('/', (req, res) => {
     // console.log(req.body);
     const chatId = req.body.message.chat.id;
     const sentMessage = req.body.message.text;     // Regex for hello
     if (sentMessage.match(/hello/gi)) {
          axios.post(`${url}${apiToken}/sendMessage`,
               {
                    chat_id: chatId,
                    text: 'hello back ?'
               })
               .then((response) => {
                    res.status(200).send(response);
               }).catch((error) => {
                    res.send(error);
               });
     } else {
          // if no hello present, just respond with 200
          res.status(200).send({});
     }
});// Listening
app.listen(port, () => {
     console.log(`Listening on port ${port}`);
});
Save the file and re-run the NodeJS application and go back to Telegram.

And there you have it. You have successfully setup a bot for local development which filters messages and replies back.
Next Steps
There are a few other things we can do to go from here and take things to the next level:
- Add custom keyboard actions and commands to expedited requests
- Adding bots to groups to moderate text and issue warnings or actions
- Setting up payments with the bot to accept money (only works on mobile)
If you enjoyed this tutorial, please give it some praise with some claps and share this tutorial, it would greatly be appreciated.
Also, let me know if you want to see more articles about this and how I can take this further.
If you got value from this, and/or if you think this can be improved, please let me know in the comments.
Please share it on twitter ? or other social media platforms. Thanks again for reading. ?
Please also follow me on twitter: @codingwithmanny and instagram at @codingwithmanny.
Ten articles before and after
Why I told my friends to stop using WhatsApp and Telegram – Best Telegram
data-rh=”true”>WE HIT 30,000 MEMBERS ON OUR TELEGRAM COMMUNITY – Shopaneum – Medium – Best Telegram
BitNautic Airdrop Brings 80k Subscribers to Telegram – Best Telegram
How to “hack” Telegram. or The Rise of Crypto Bullshit Bingo – Best Telegram
The Telegram That Saved the World – Best Telegram
Airdrop: How to Use the Yetucoin Telegram Bot – Best Telegram
How to Create and Deploy a Telegram Bot? – Best Telegram
How to create a Telegram bot, and send messages with Python – Best Telegram
Announcing Coolomat Market Telegram Airdrop – Best Telegram